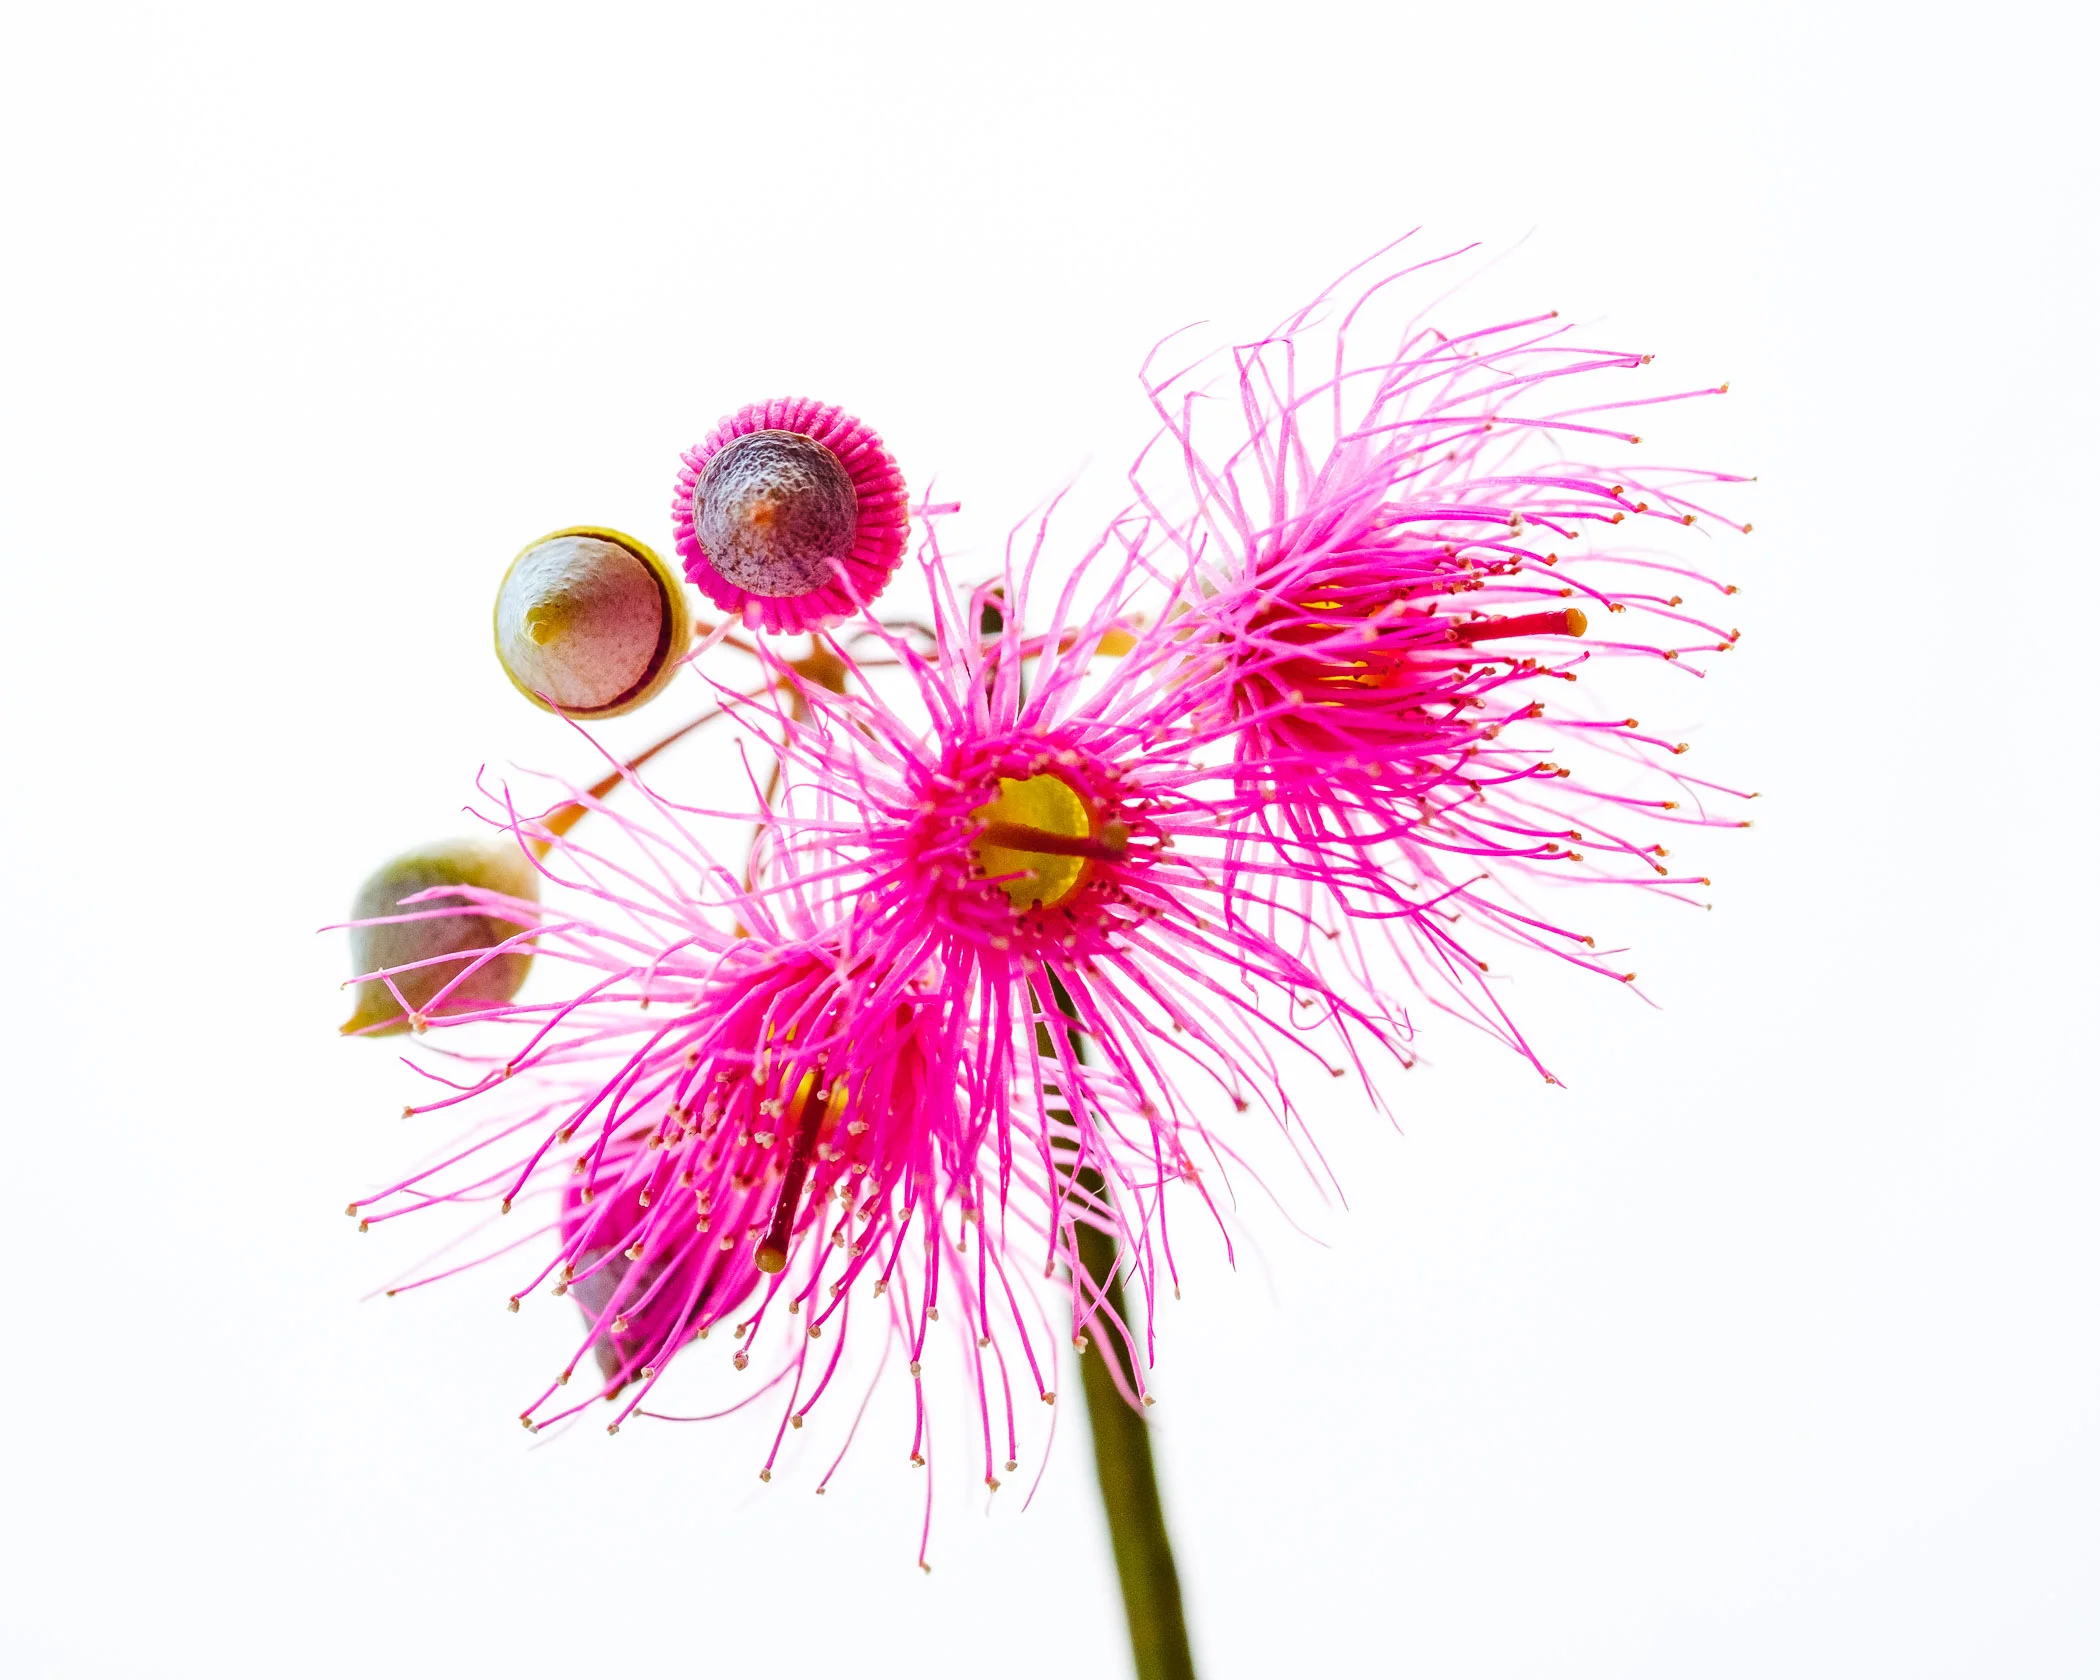
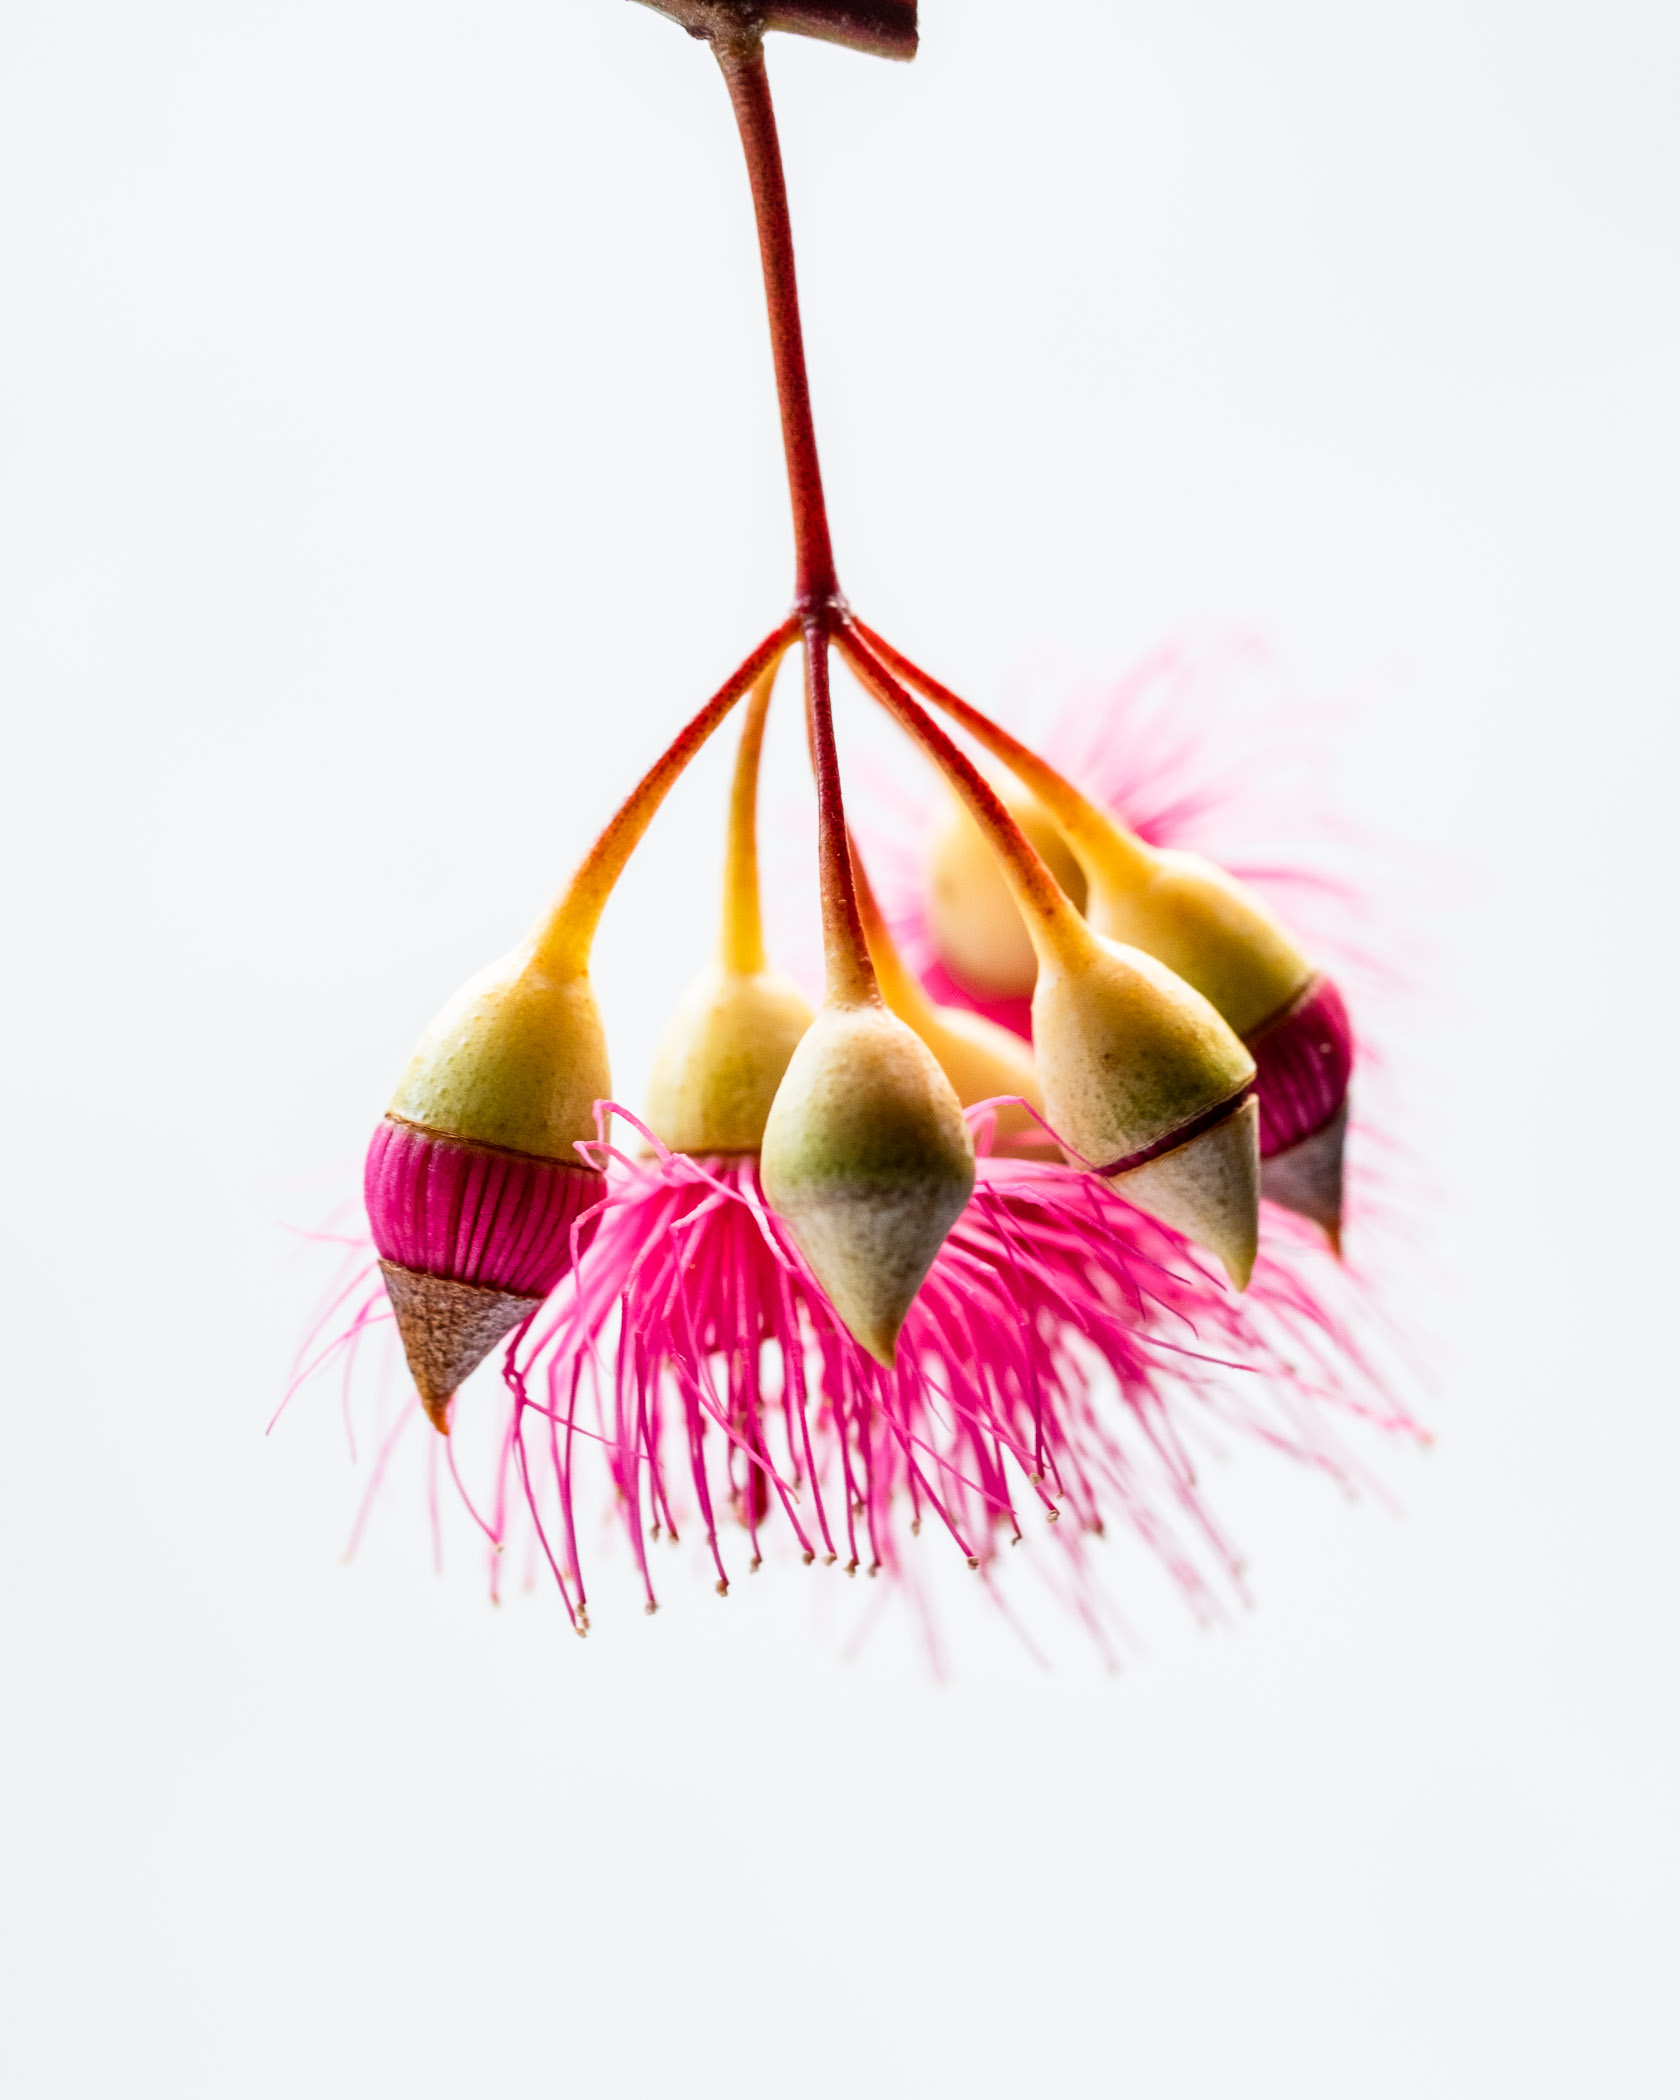
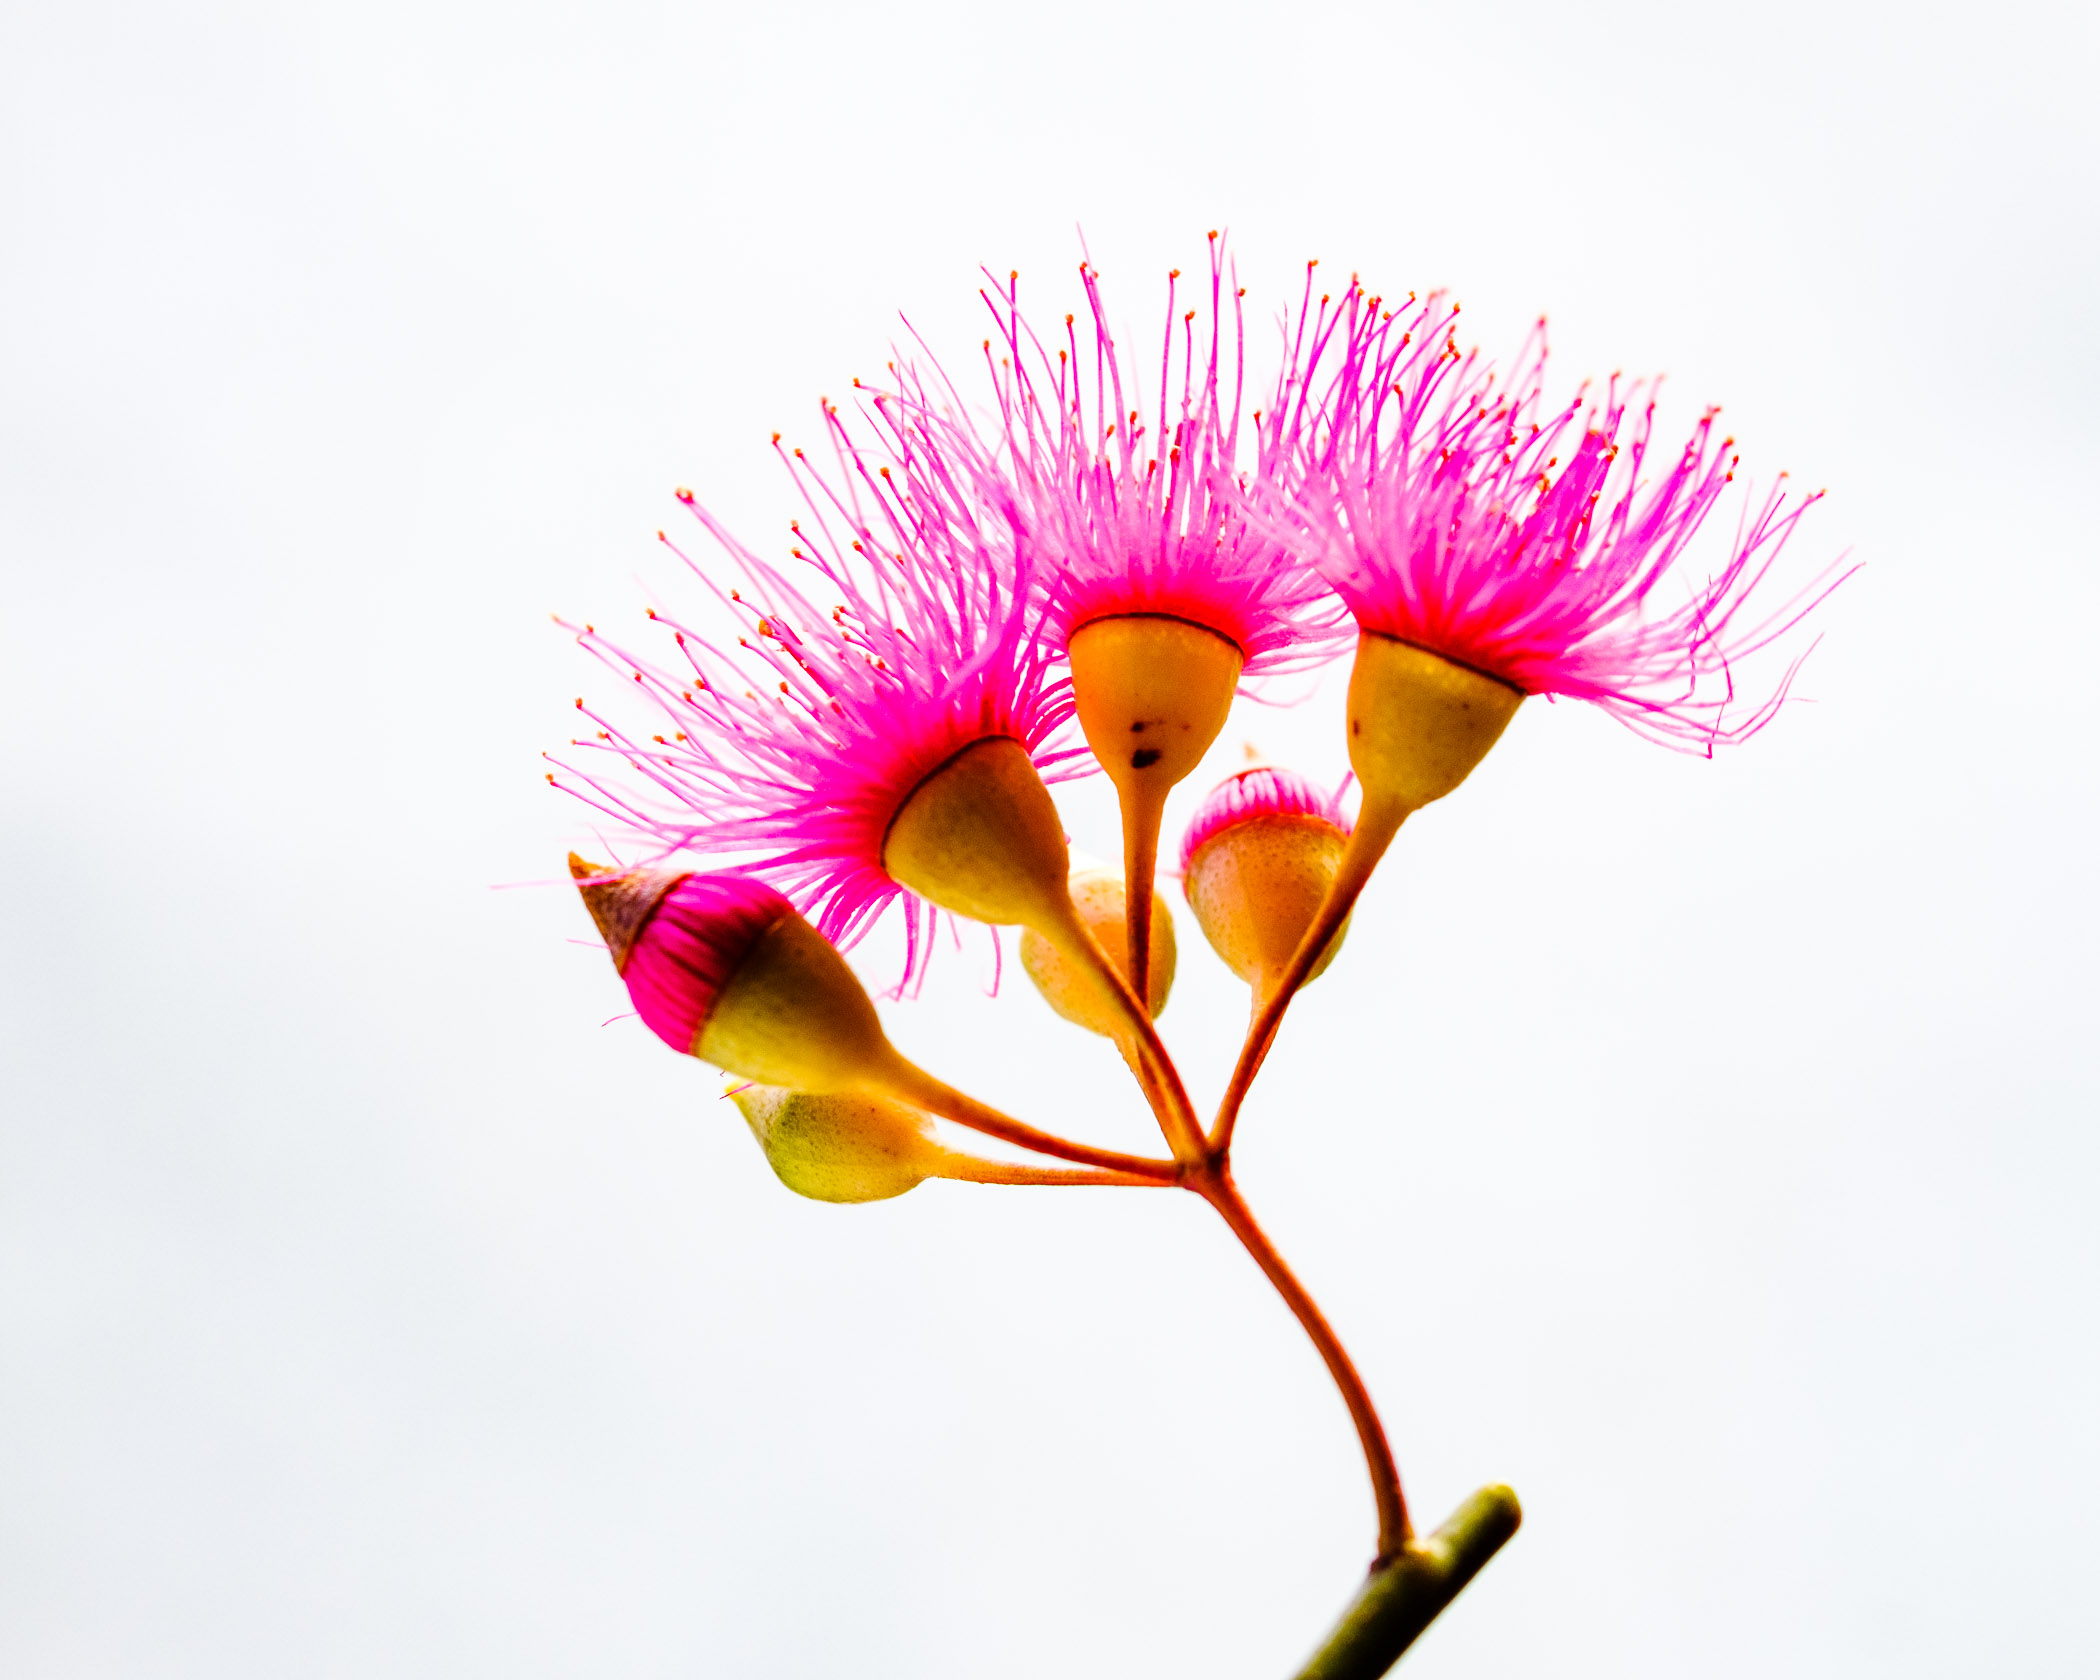
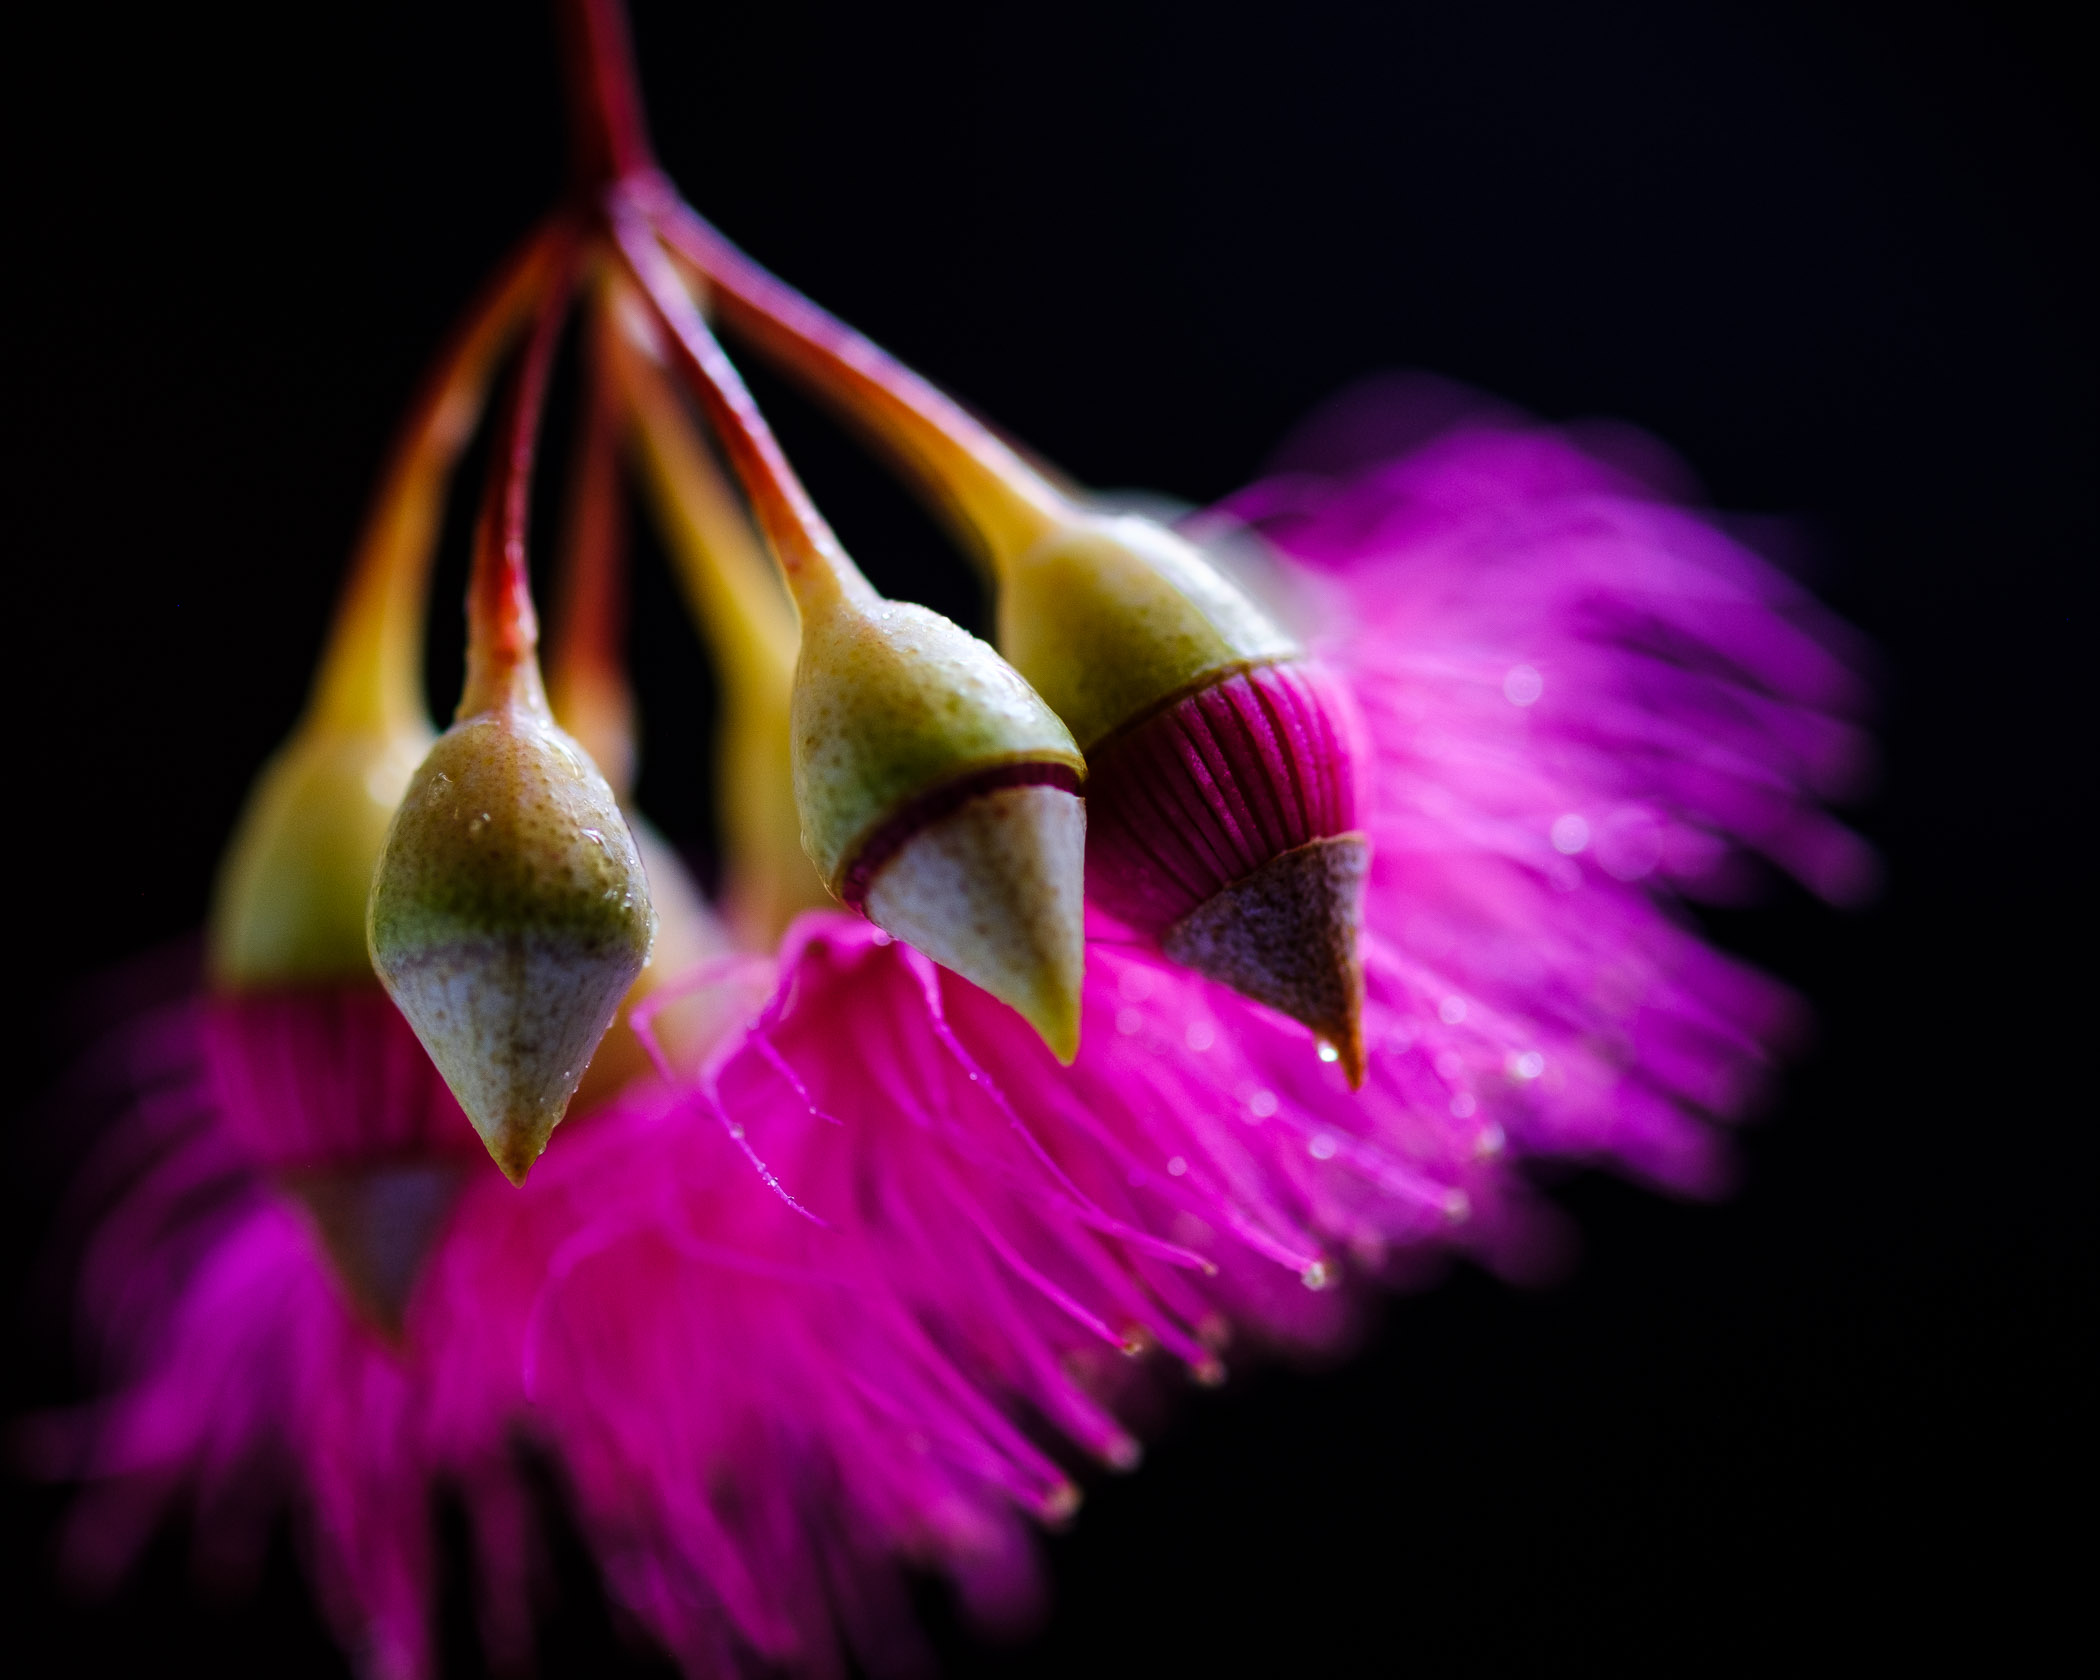
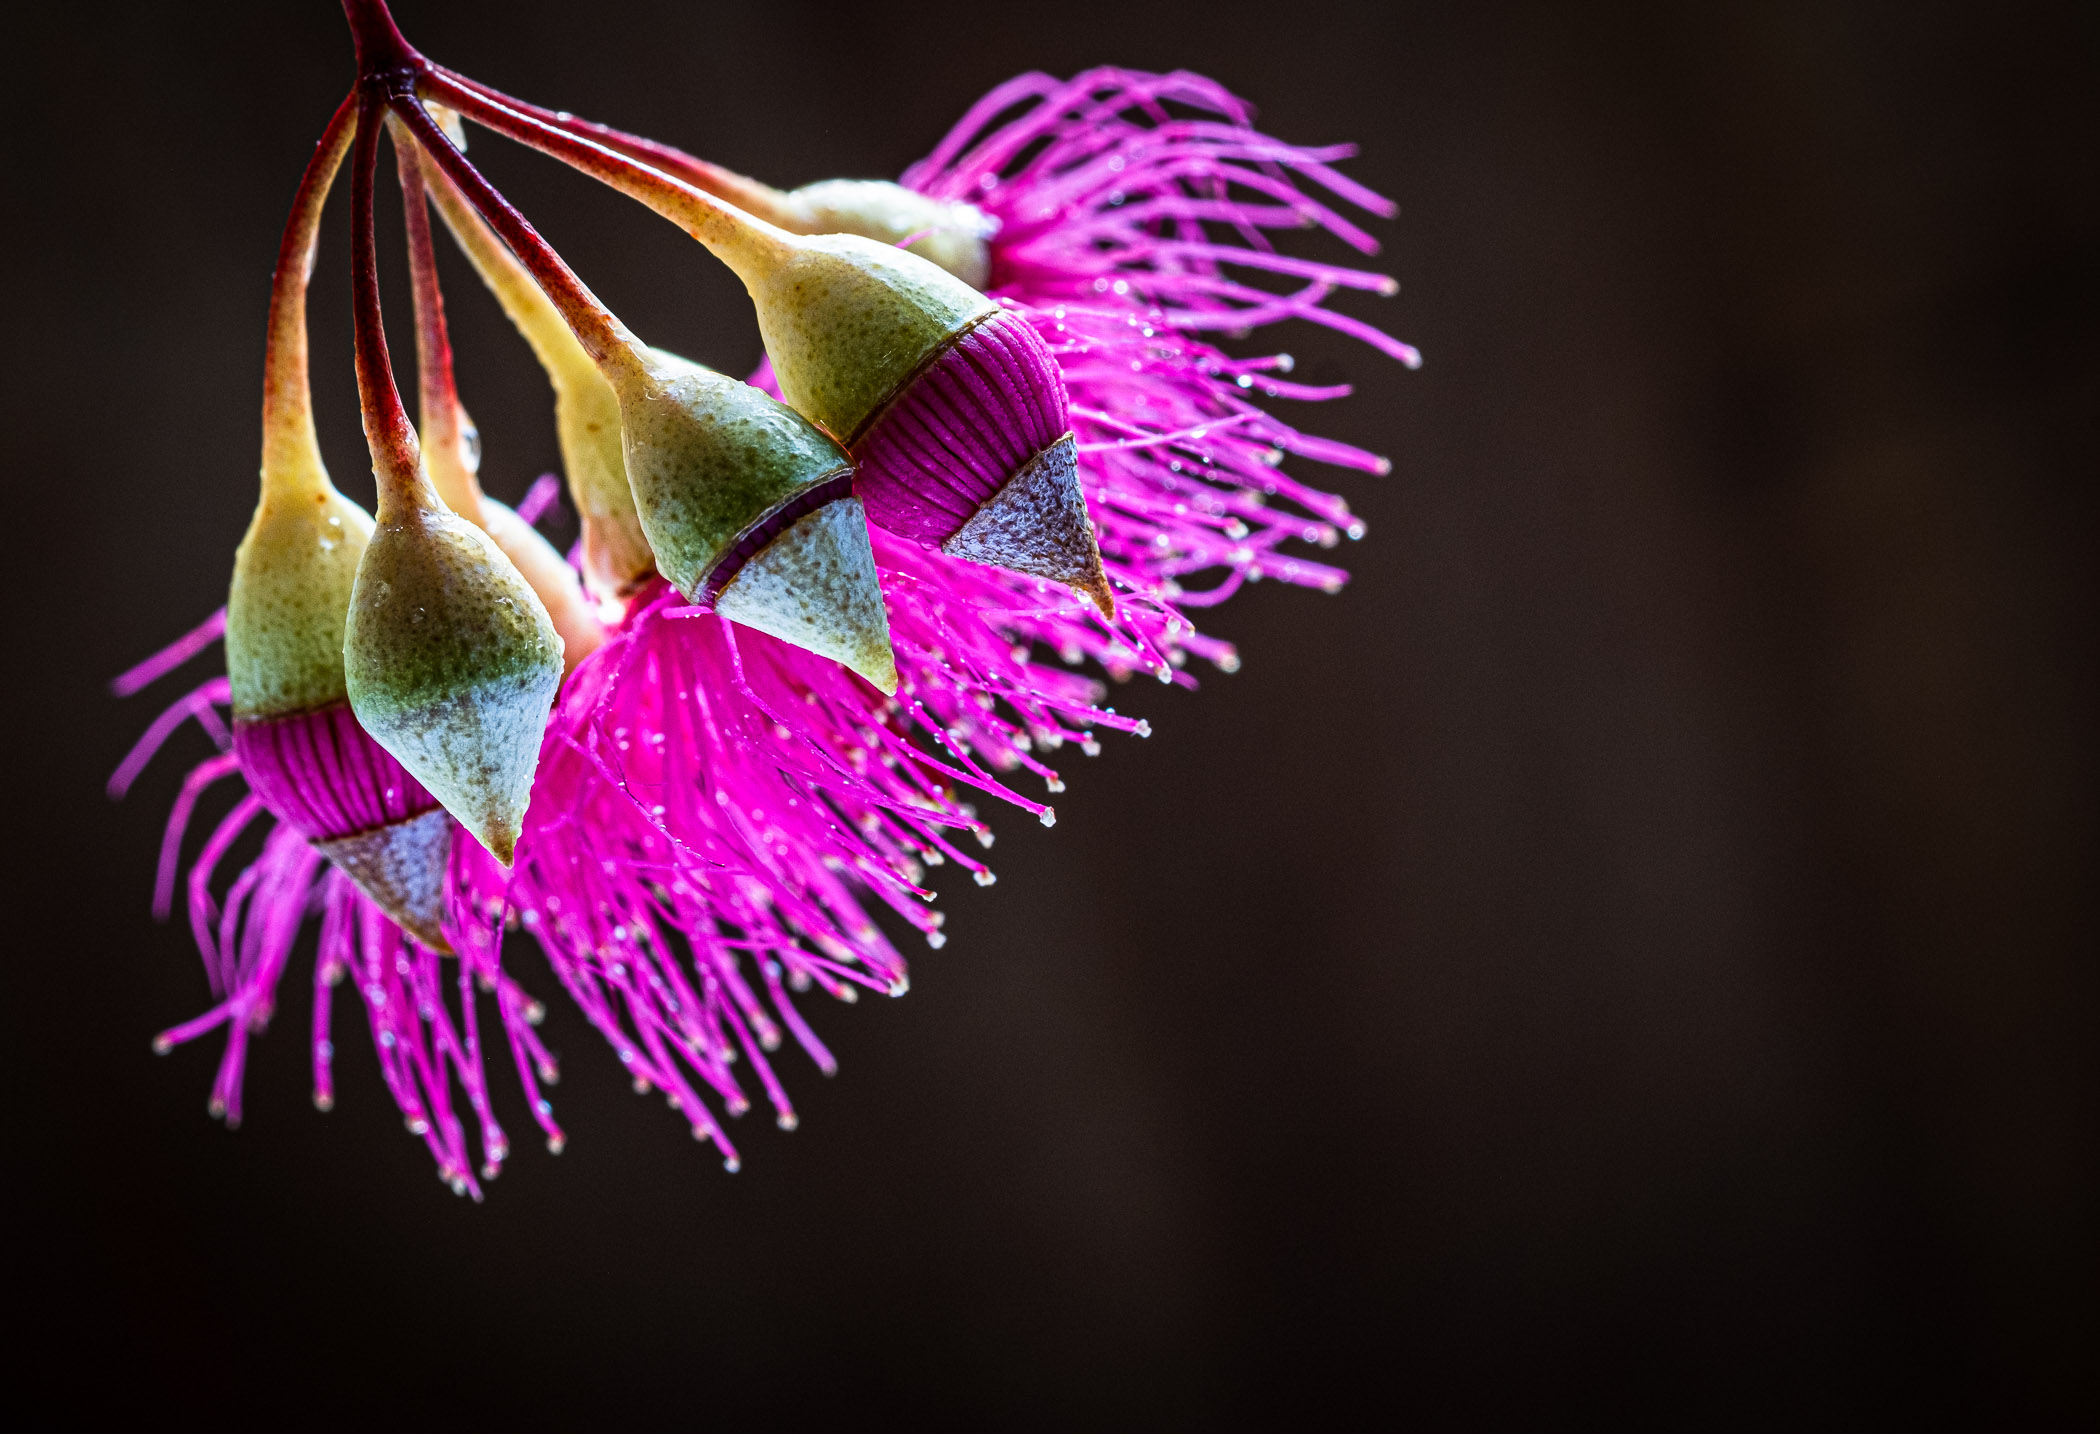
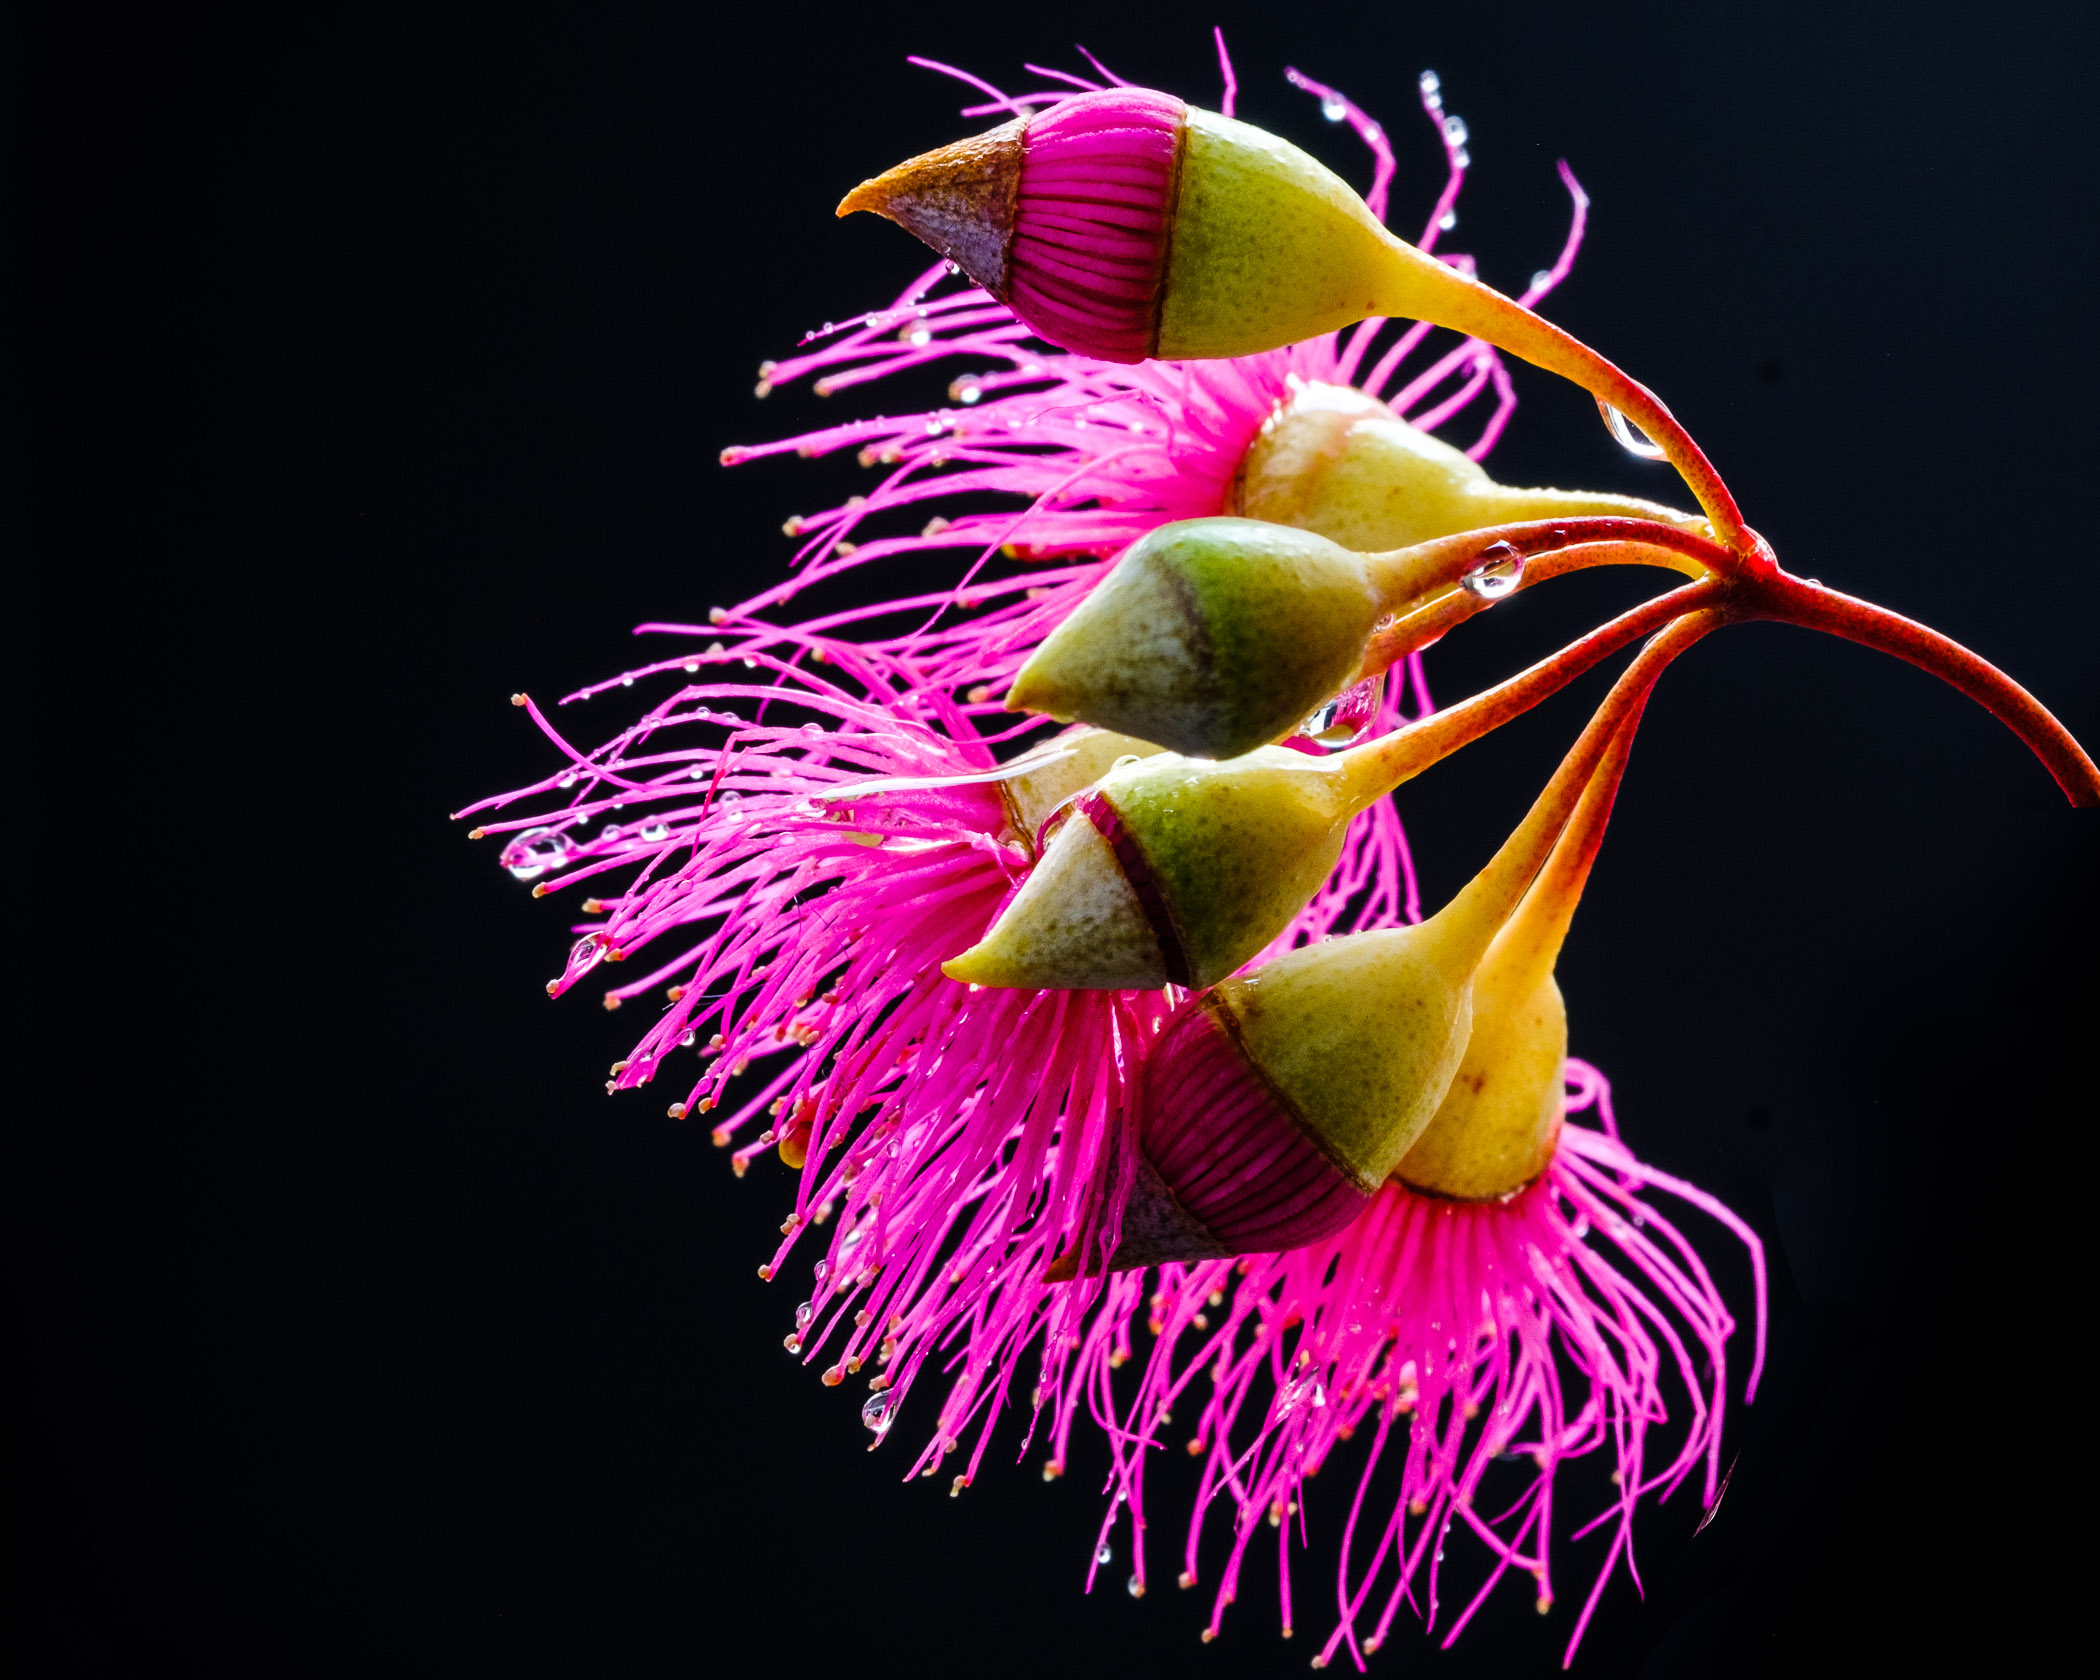
How to photograph flowers in a small kitchen without any fancy equipment.
Ingredients:
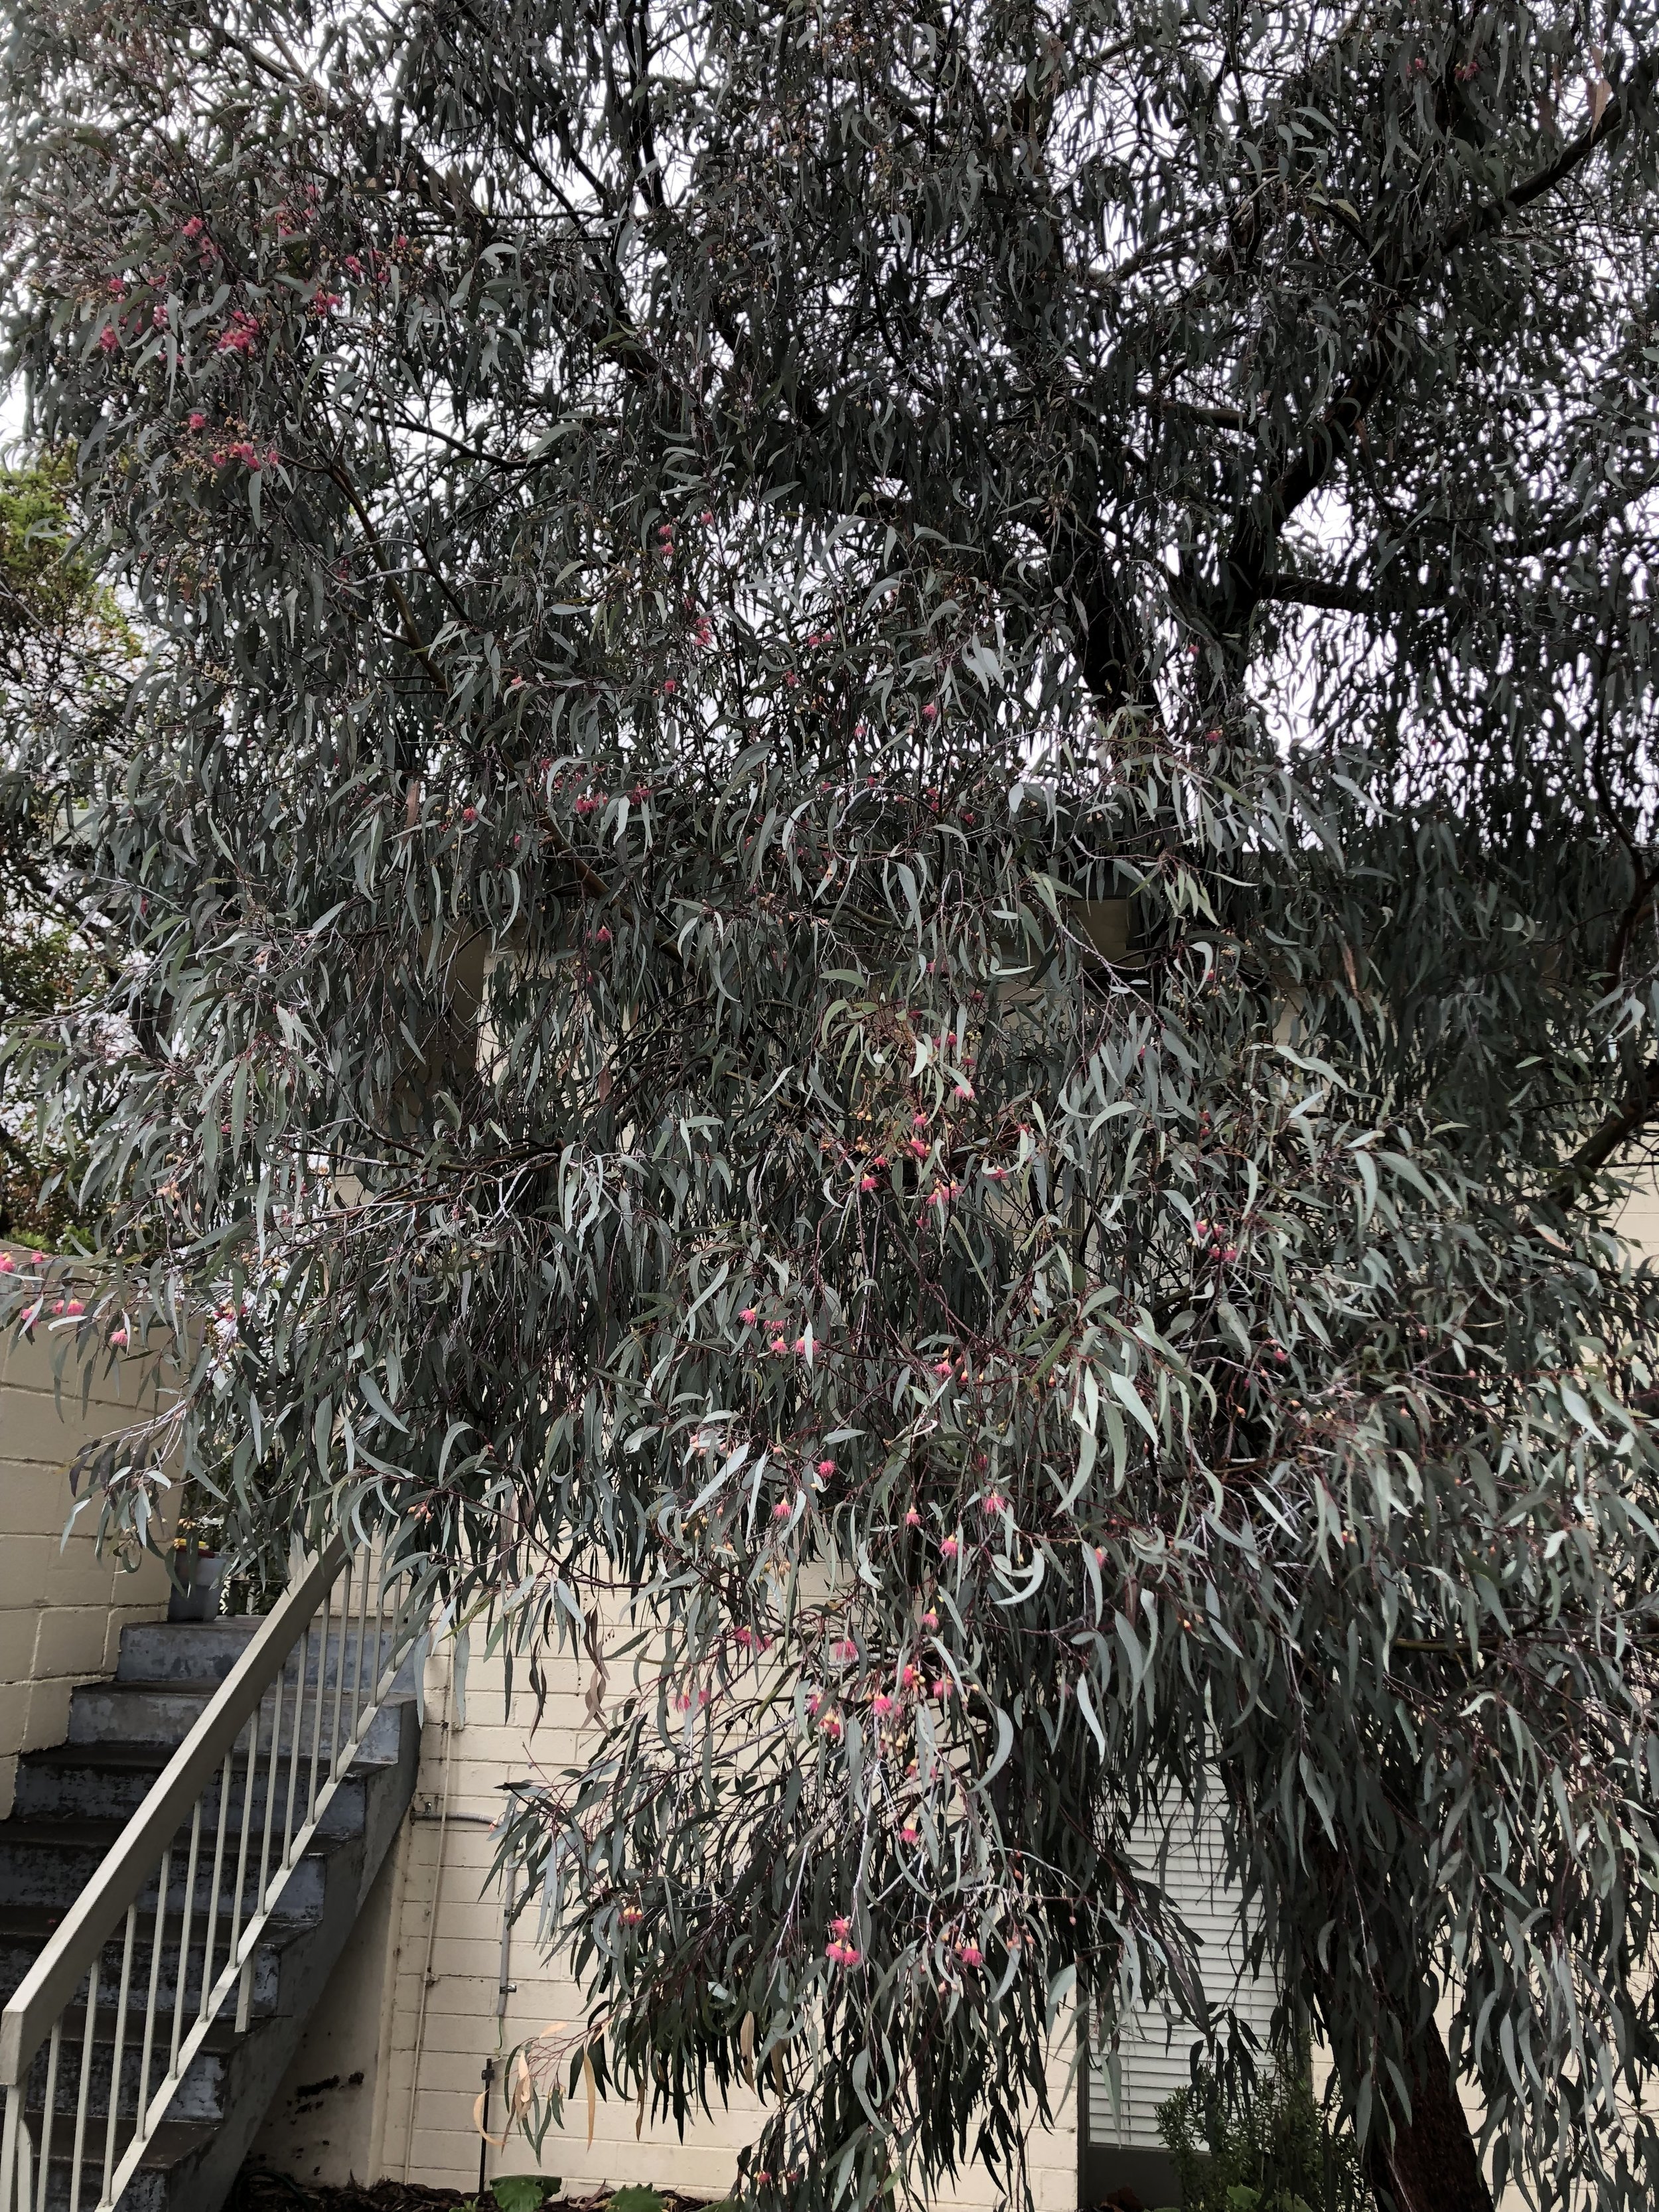
One stolen flower from the tree you walked past on the way home
A few pieces of baking paper from the third drawer.
One white chopping board
One camera with macro lens
One tripod
One kitchen window
Daylight
Optional: Spray bottle for water droplets. Timber chopping board for a dark background.
Method:
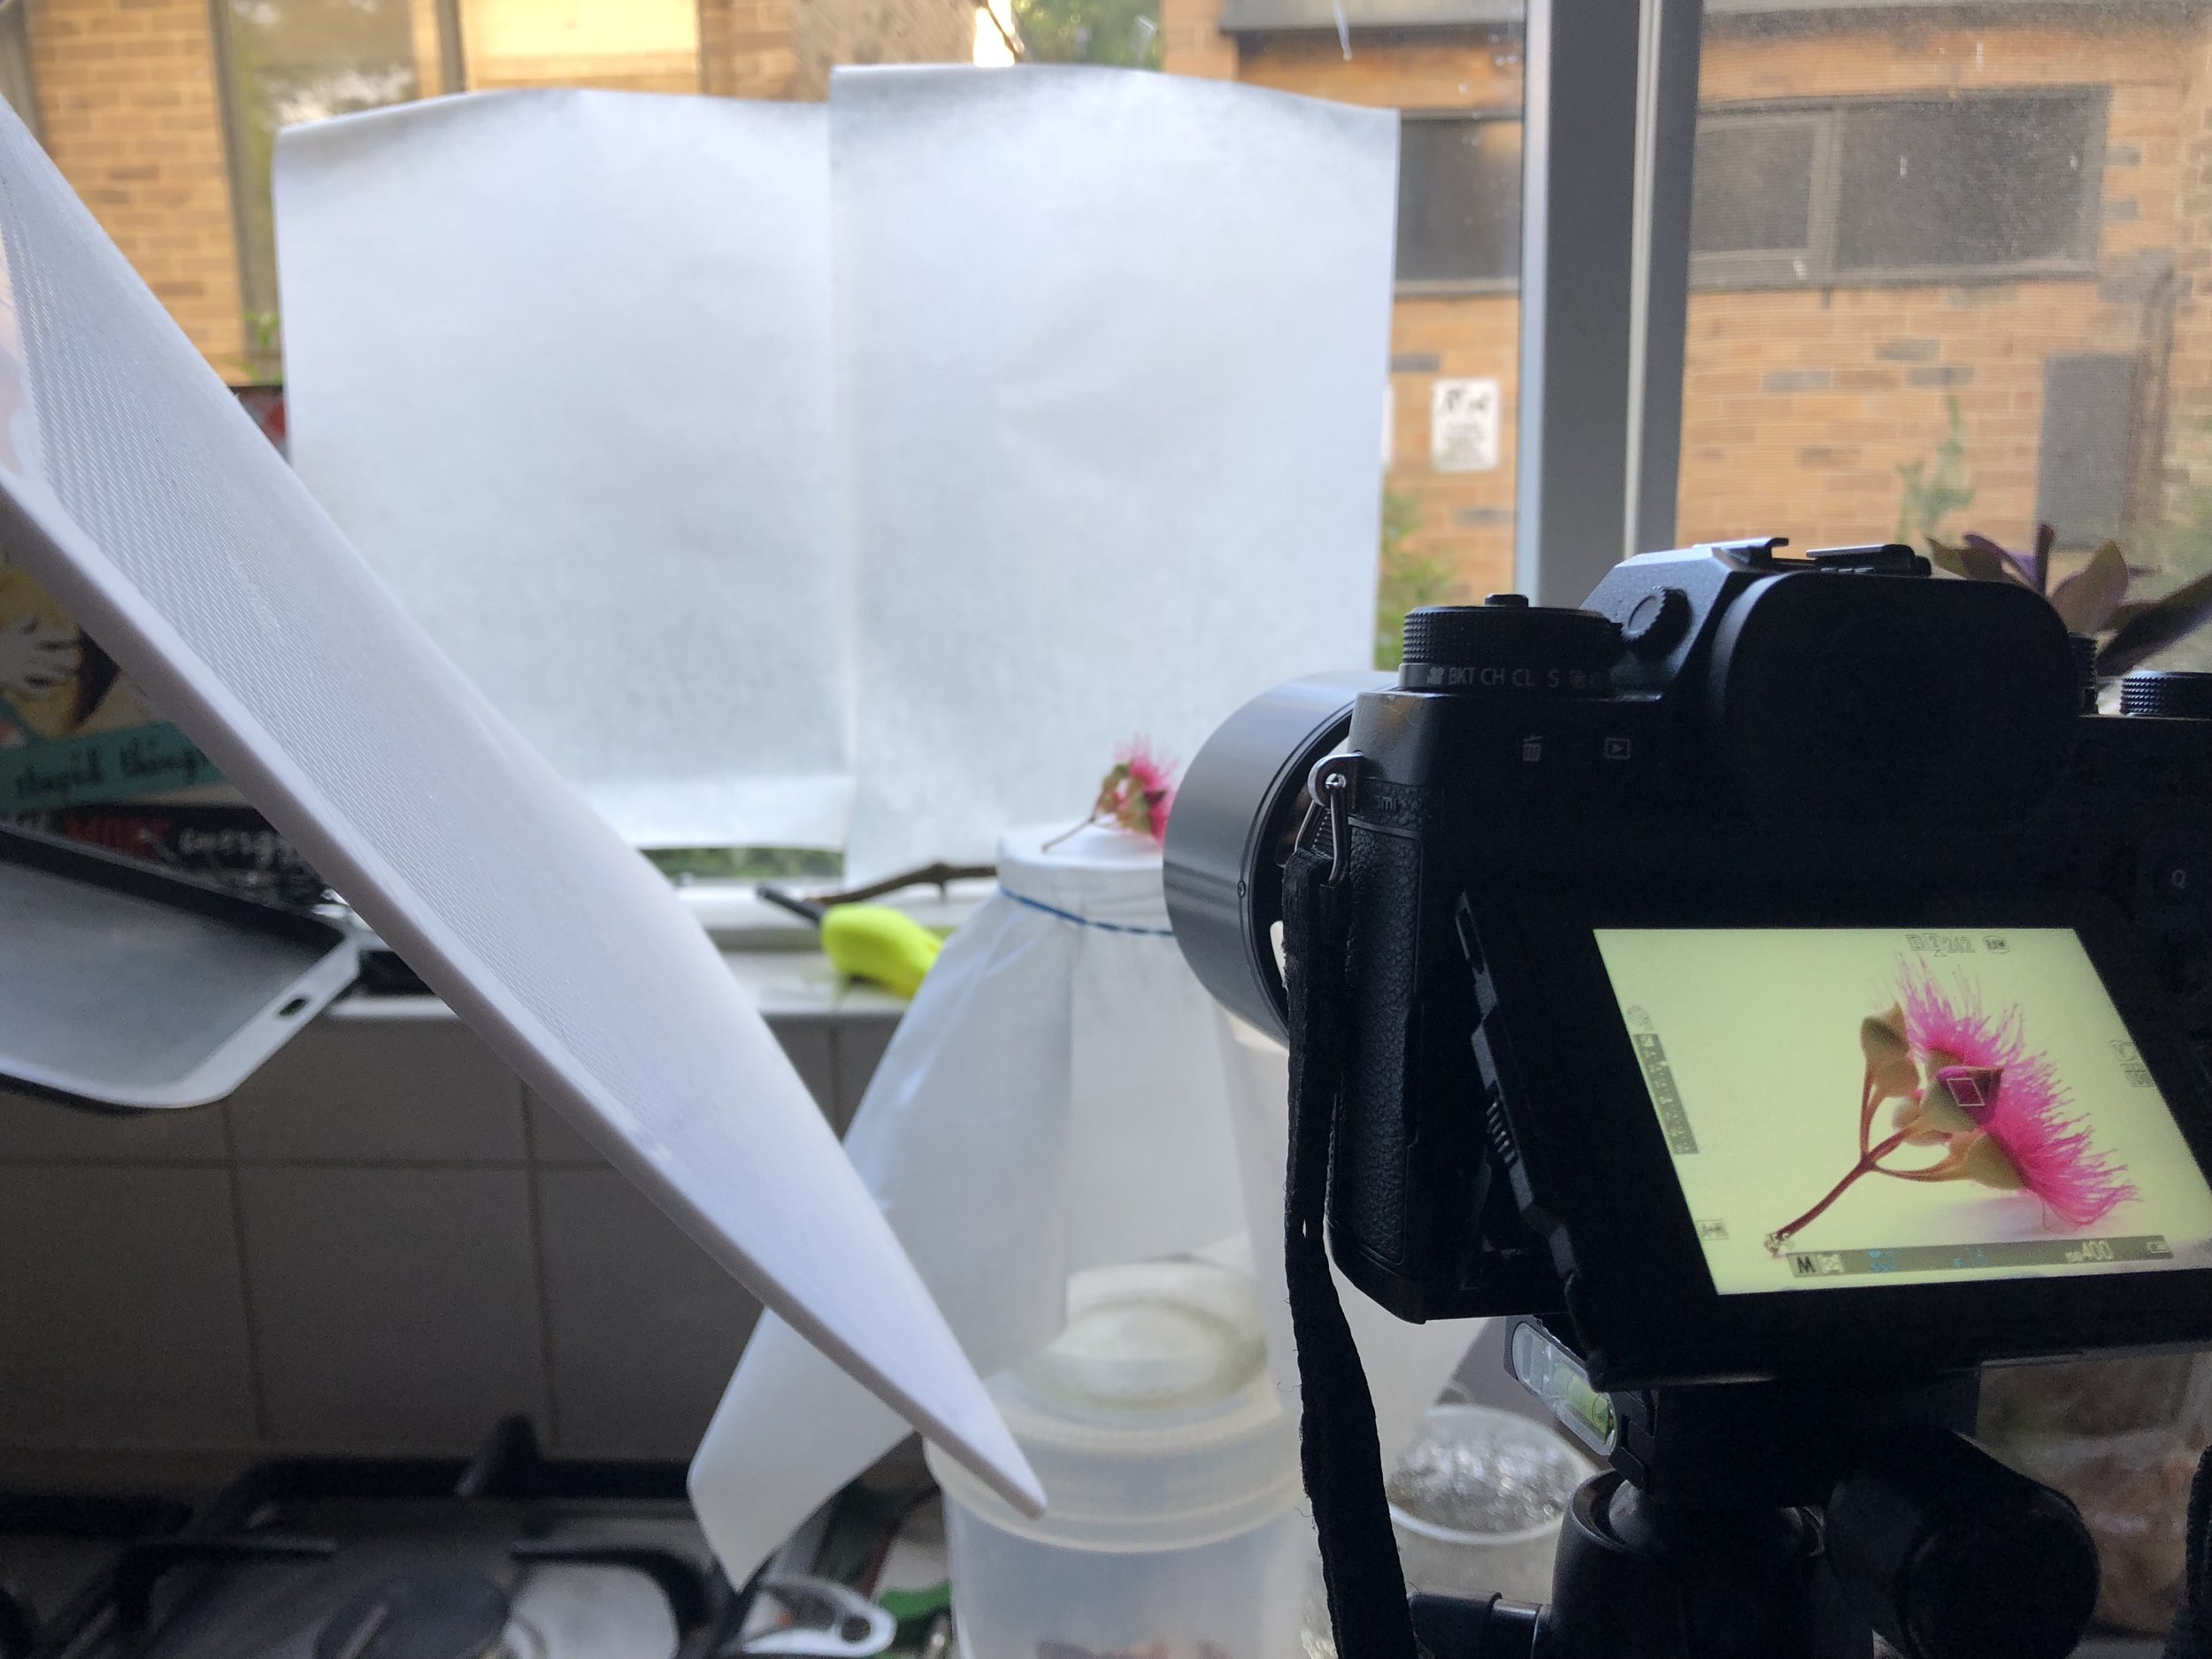
Tape one or two pieces of baking paper to the kitchen window. (Any window will do)
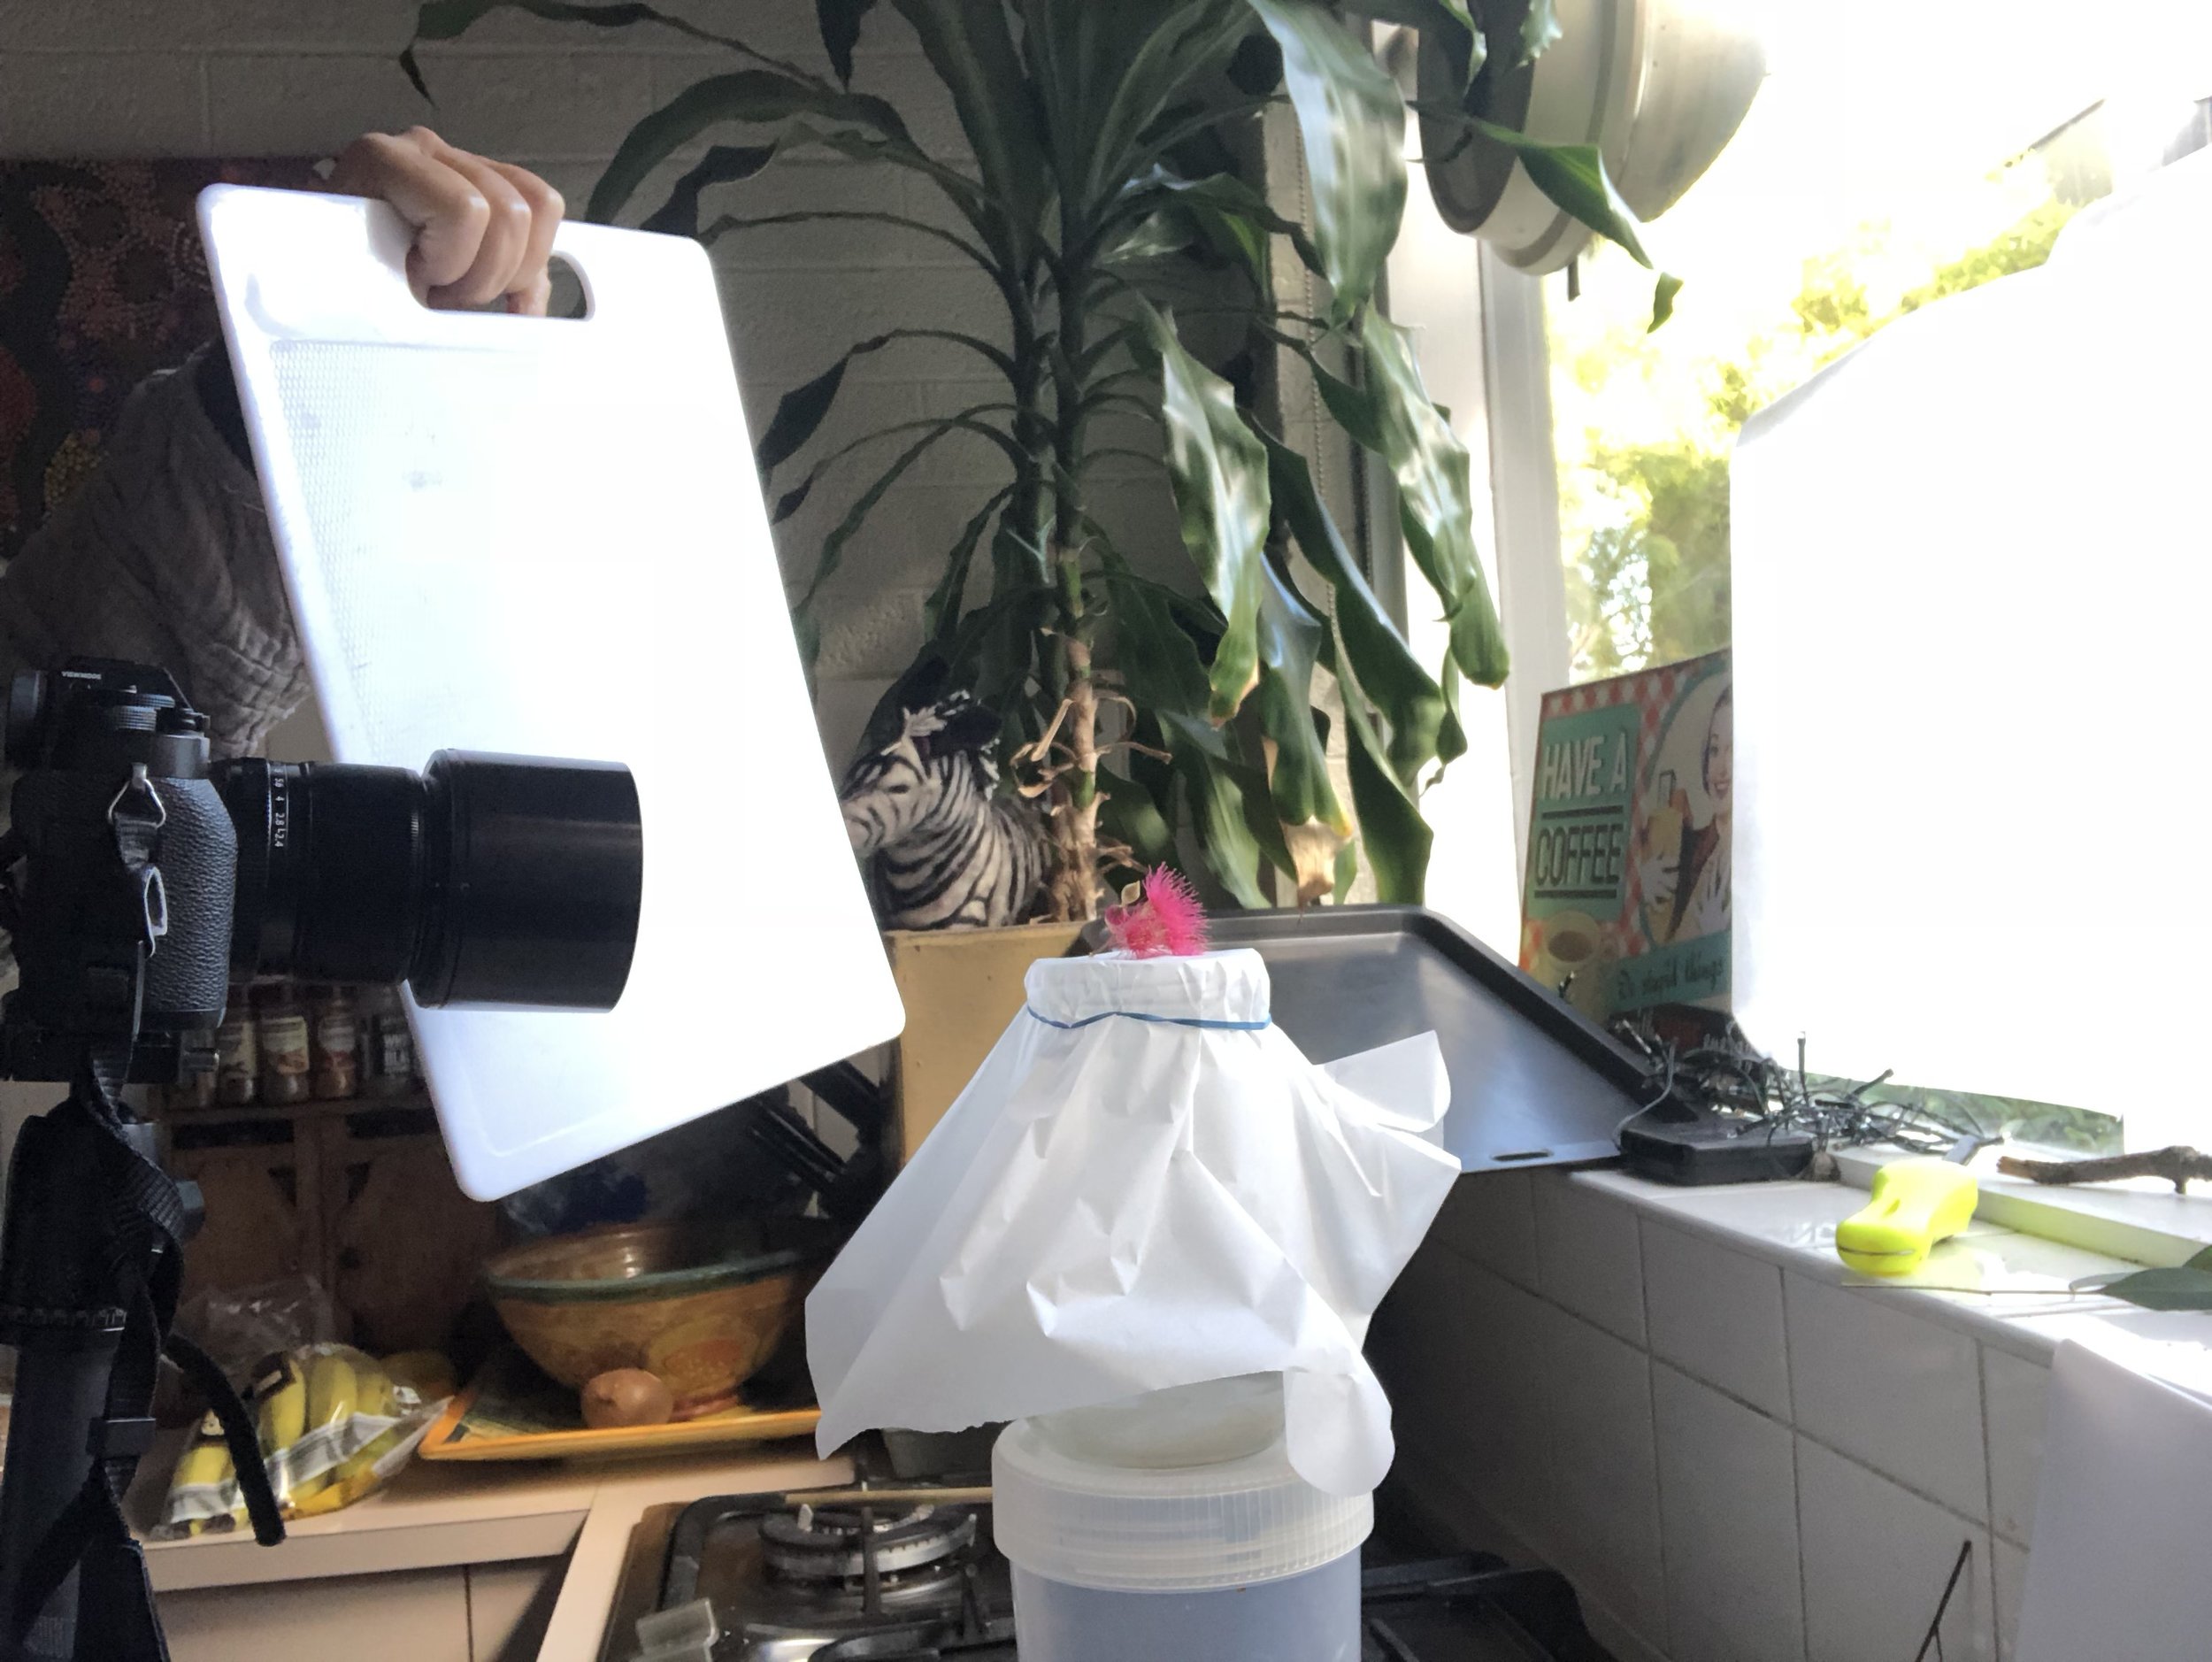
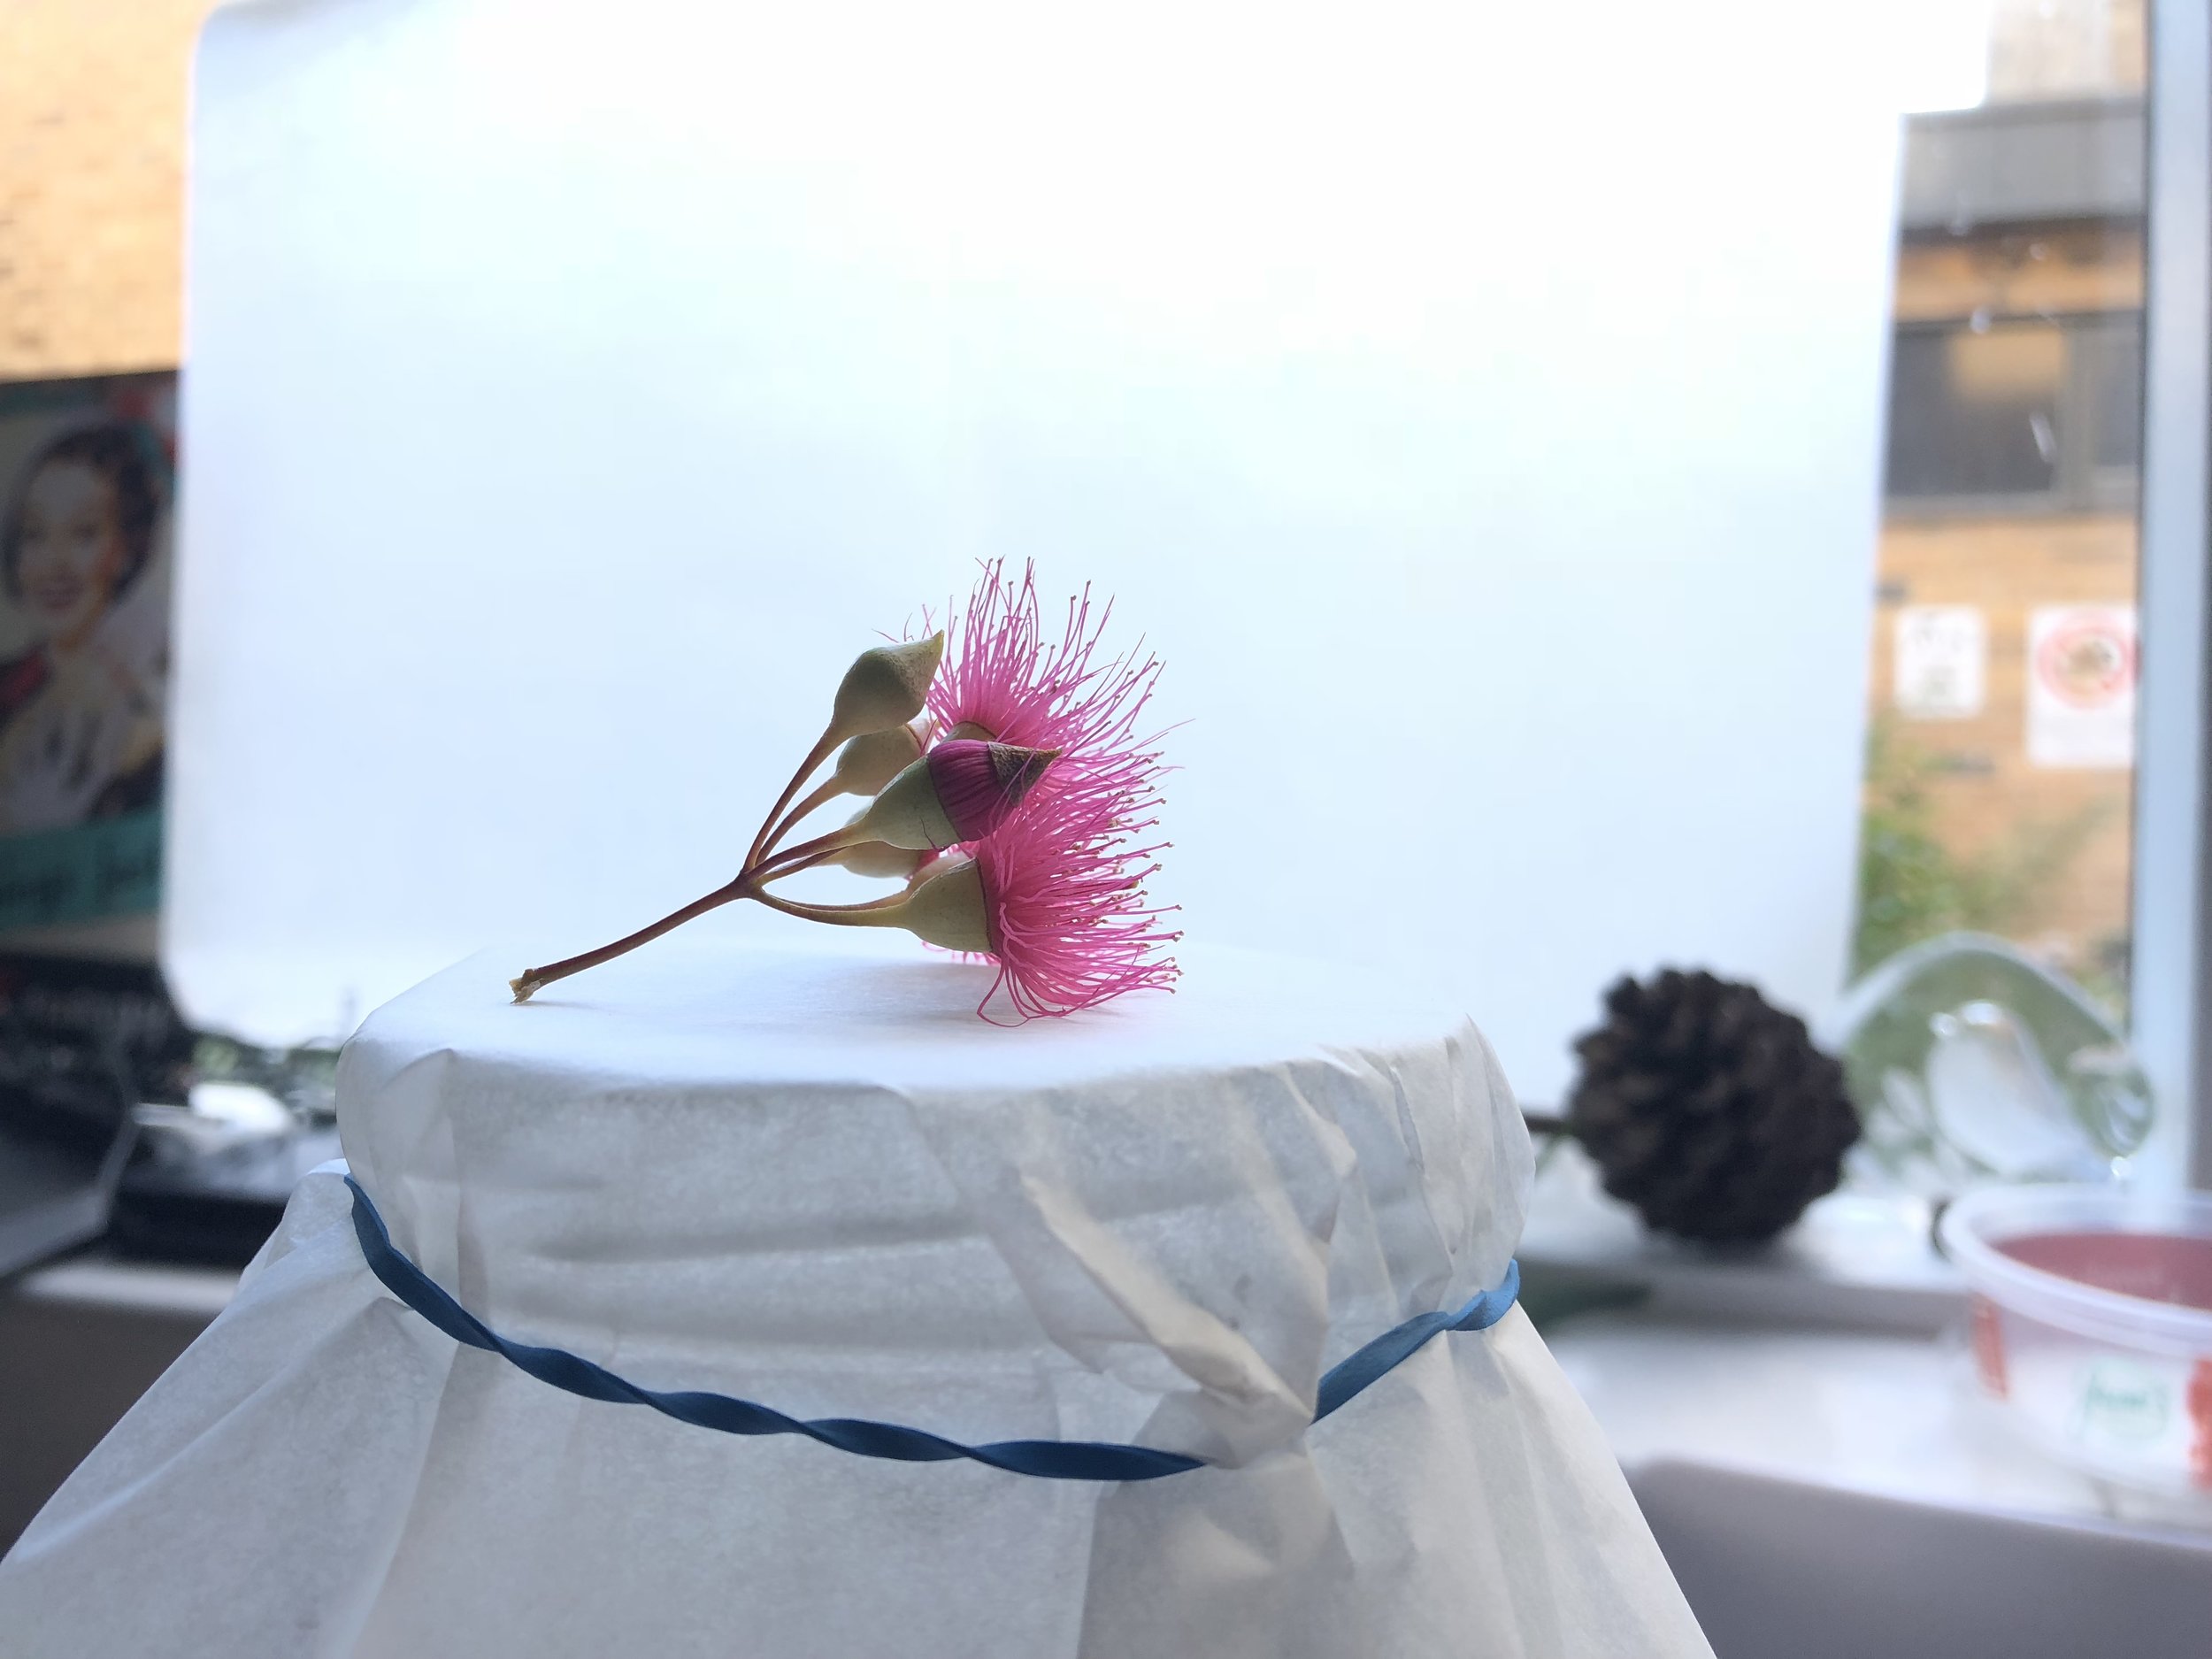
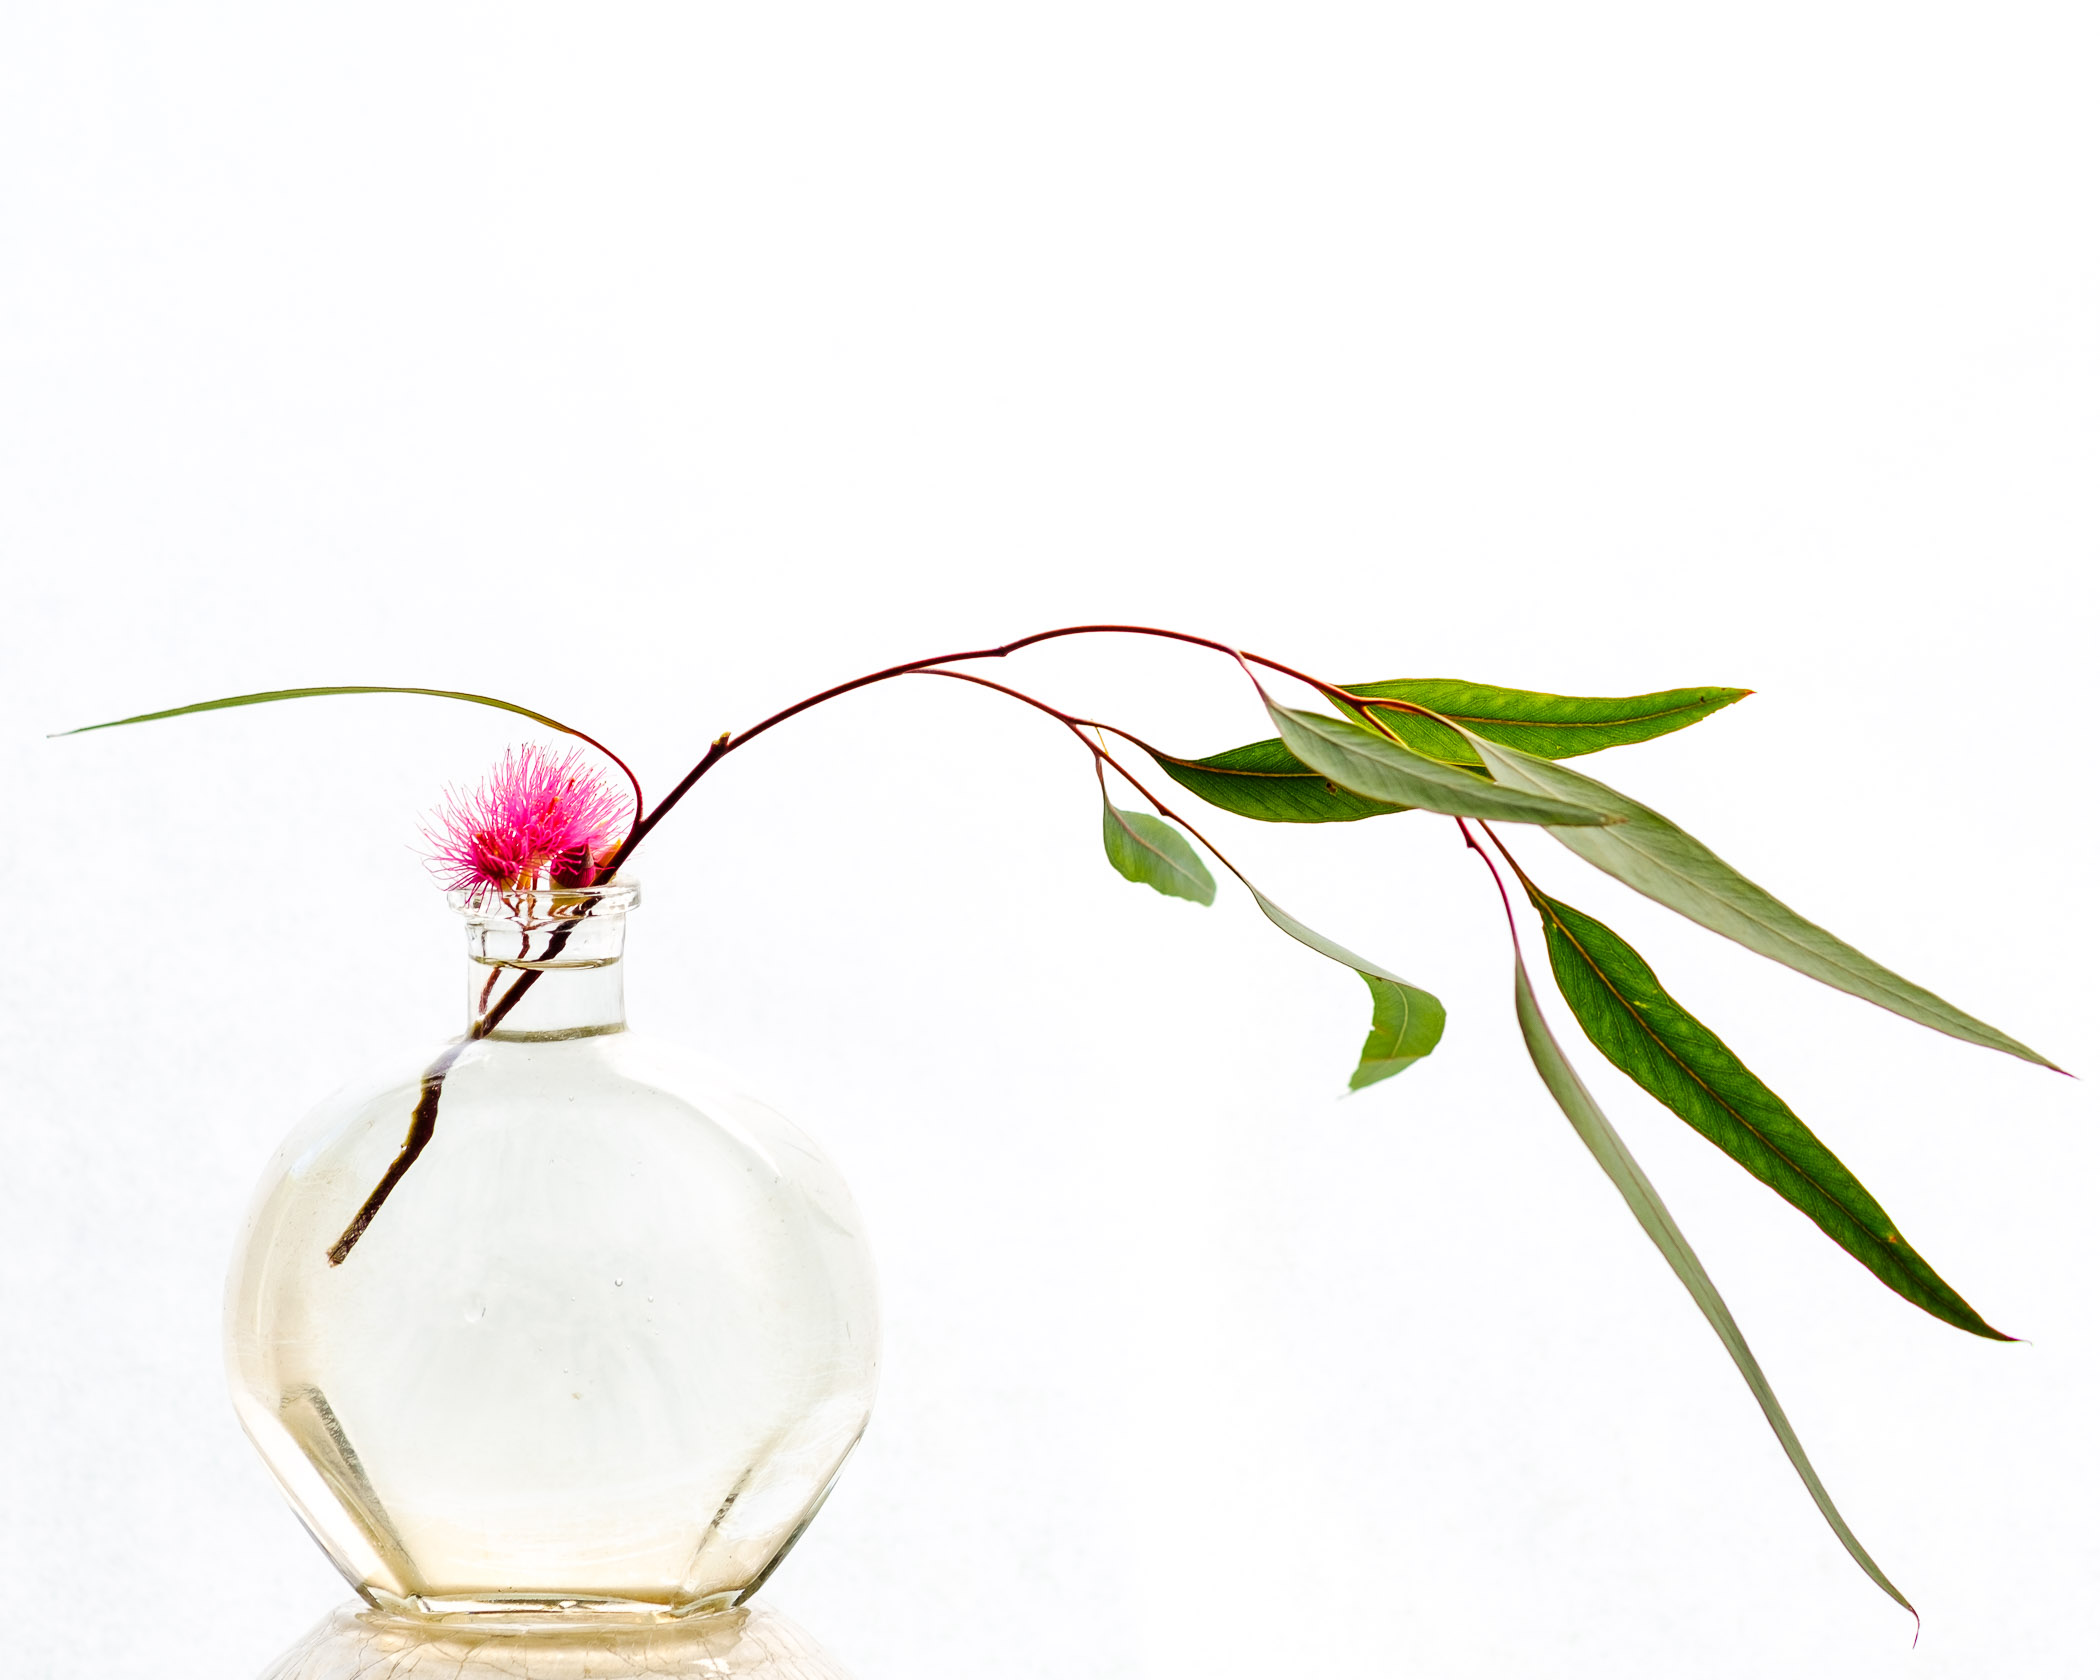
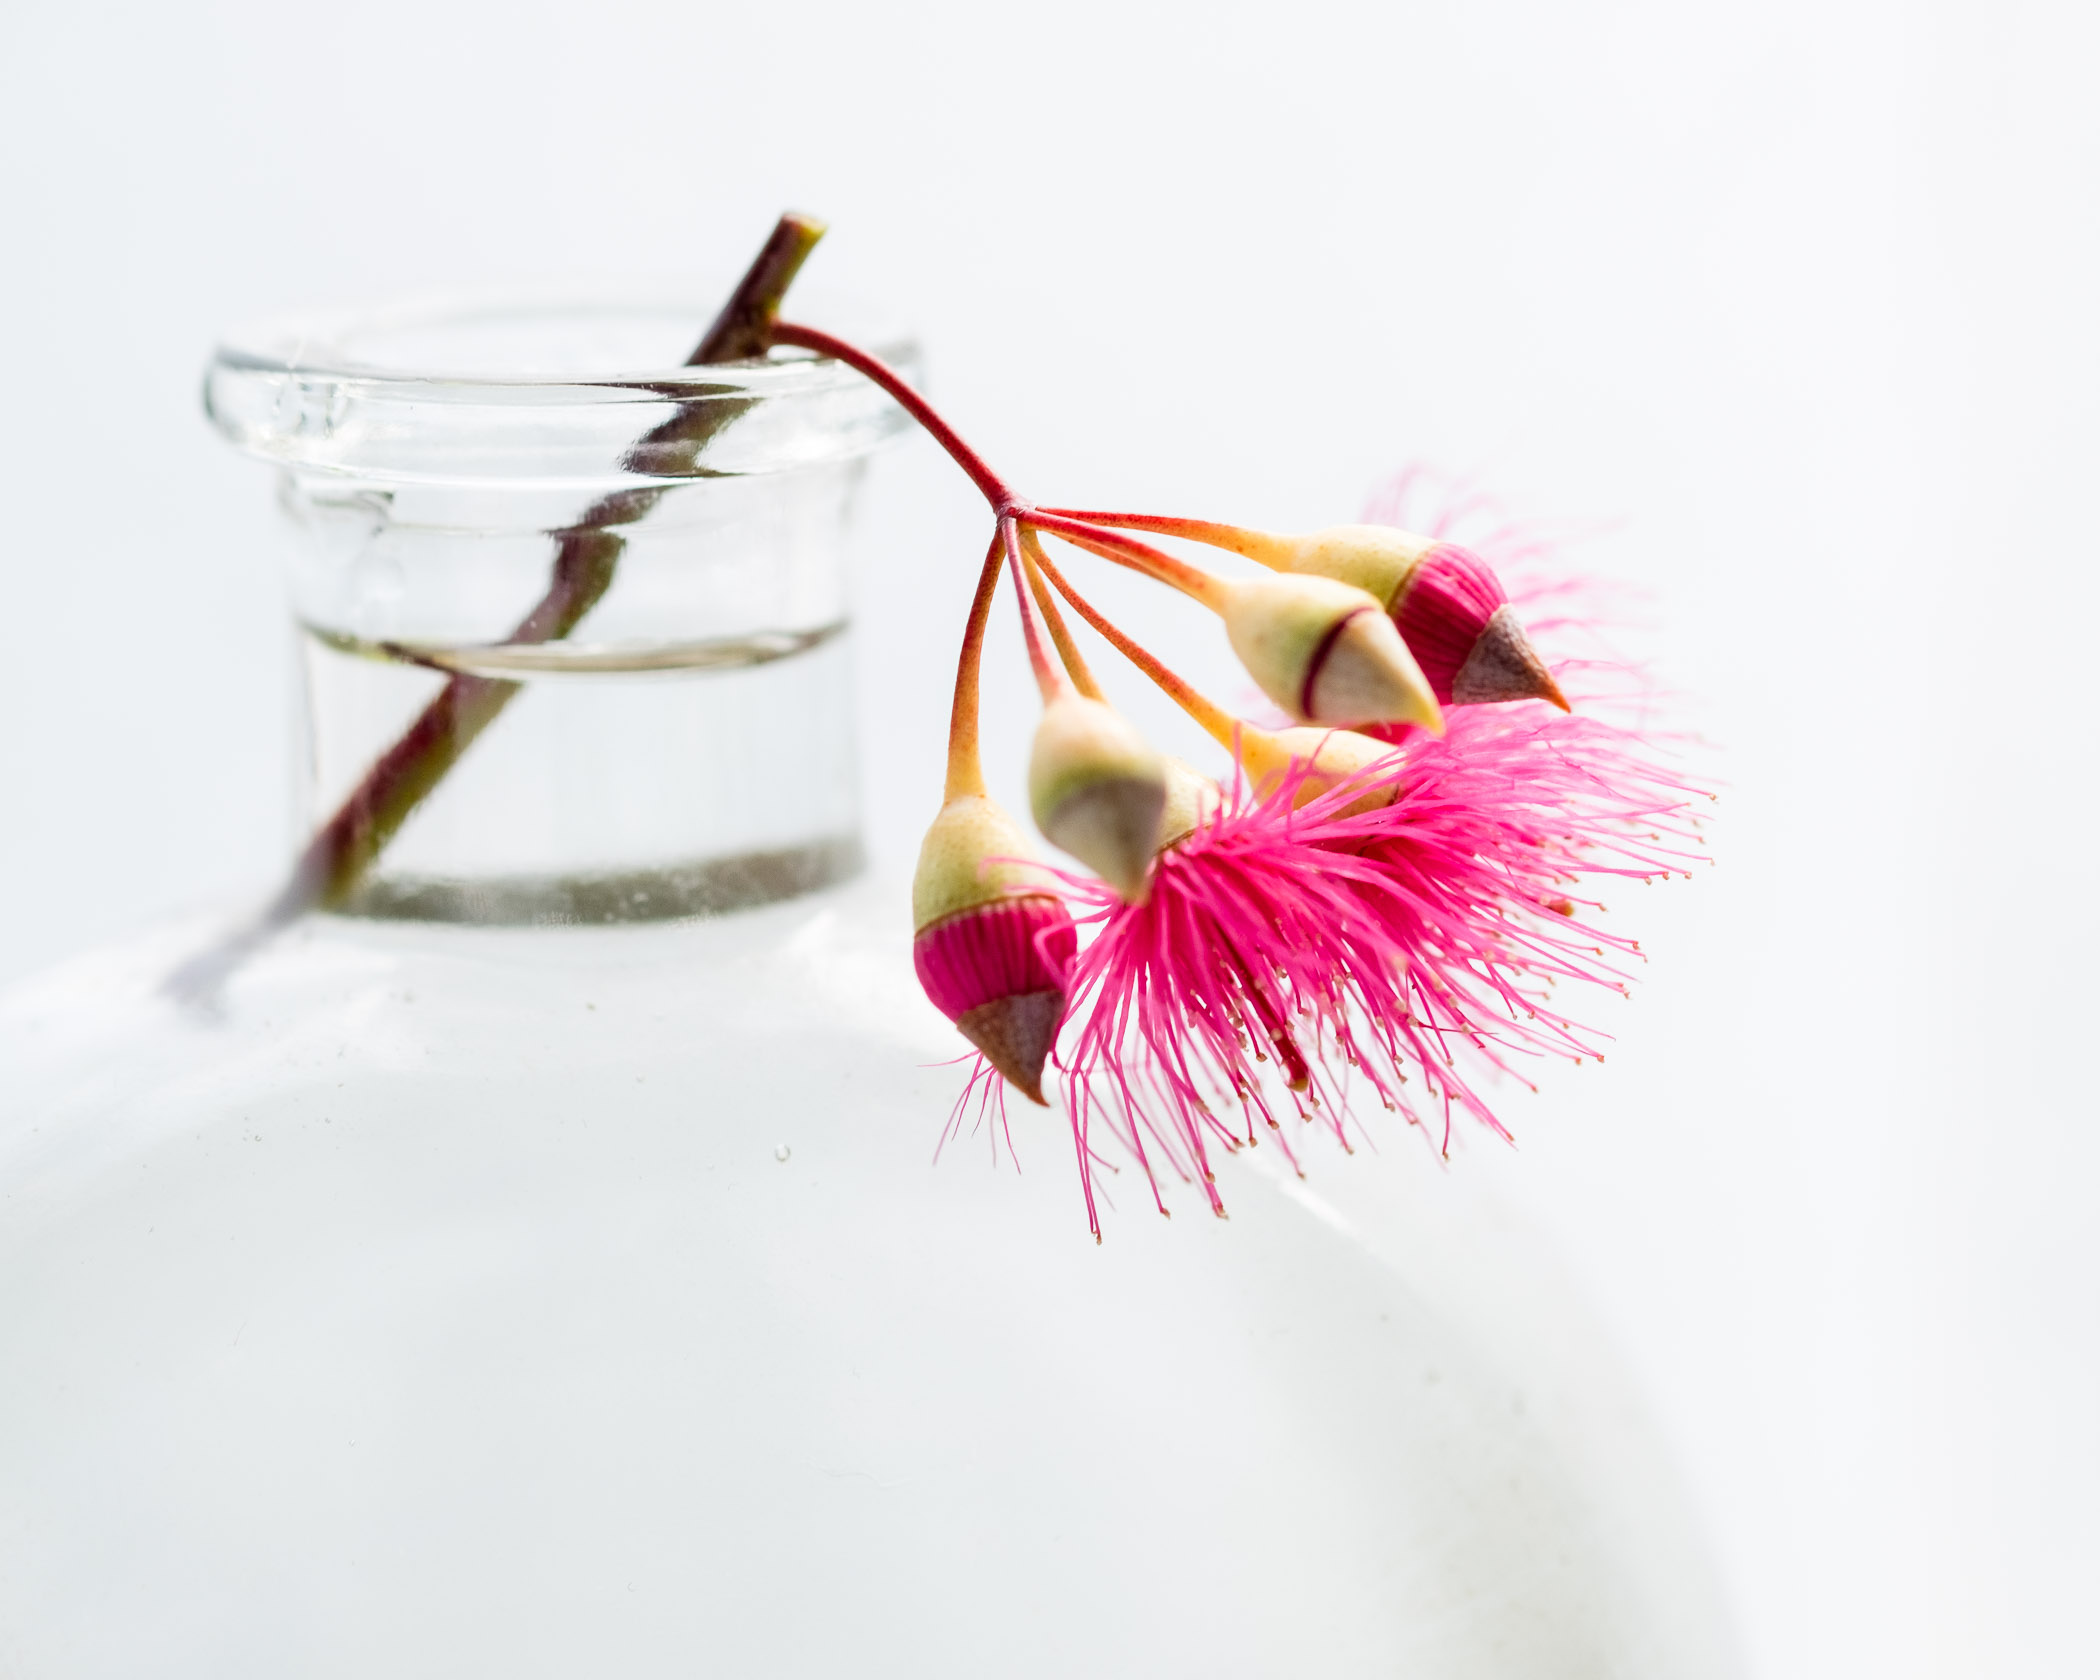
Place flower with baking paper behind it (backlit). I tried several options, including sitting the flower on a glass jar covered with baking paper, which worked quite well. I also used a complicated combination of a peg and some rubber bands and a spoon in the jar so the flower was ‘floating’. It worked, but was a bit precarious. I have since bought a gadget from an electronics shop that is perfect for holding flowers. I’ll share a photo in a future blog post.
Use the white board to reflect light back in to the shadow side of the flower.
Place the camera on the tripod as you’ll need a smallish aperture to get enough depth of field and you’ll end up with a slow shutter speed and you want to avoid useing a higher ISO to avoid noise in the image.
Camera used: Fujifilm XT-2. 60mm Macro lens.
Settings: A range of apertures between f/2.4 through to f/16. Shutter speeds from 1/125sec to 1/4sec. ISO 400.
Below: Behind the scenes iphone photos. Can you spot the Zebra in the background in the kitchen? (He was just a silent observer and had nothing to do with the photoshoot).
If you like this post or would like to see more photography recipes, leave a comment or at least hit the ‘like’ button so I know you’ve stopped by.
Thanks :-)